3.3.1. Ardour templates
3.3.2. Starting Ardour
3.3.3. Ardour’s Mixer window
3.3.4. Audio routing with templates
3.3.5. Audio routing manually
3.3.6. Testing your routing
3.3.7. Use of plugins for audio processing
3.3.8. Record your session
The following sections describe the use of the DAW Ardour with regard to working with TPF-Tools. For download, installation and pre-configuration, see Chapter C1.
We recommend making yourself familiar with Ardour, a good introduction can be found here: https://manual.ardour.org/toc/.
3.3.1. Ardour templates
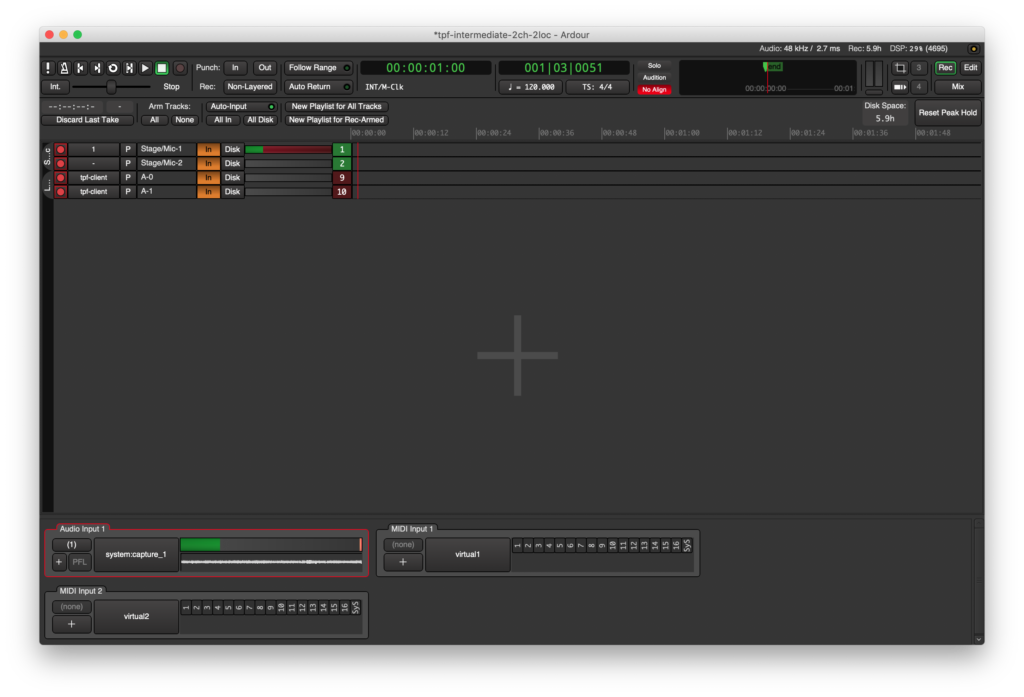
When you start to use Ardour with TPF-Tools, you can use the templates that are delivered with the TPF-Tools bundle. They are to be found in the TPF-Tools folder ‘ardour-templates’. Choose a specific template which corresponds with your local setup and the one of the remote location(s).
The following templates are pre-configured:
- ‘tpf-intermediate-2ch-2loc’: 2 locations (1 local, 1 remote) with 2 channels each
- ‘tpf-intermediate-4ch-4loc’: 4 locations (1 local, 3 remote) with 4 channels each
- ‘tpf-intermediate-default’: 9 locations (1 local, 8 remote) with 8 channels each
Please note that with these templates you can leave single lines empty; e.g., if you need only one channel, take the first template with two channels and do not use the second channel.
These templates are designed to help beginners to use the Ardour DAW.
If you are a more experienced user, you may wish to create your own session or extend an existing template according to your preferences.
3.3.2. Starting Ardour
Important: If you use TPF-Tools without the TPF-Audio-Runner (see Chapter C2), it is crucial that you open its components in the following order; otherwise, the DAW Ardour and the TPF-Client will not communicate with each other:
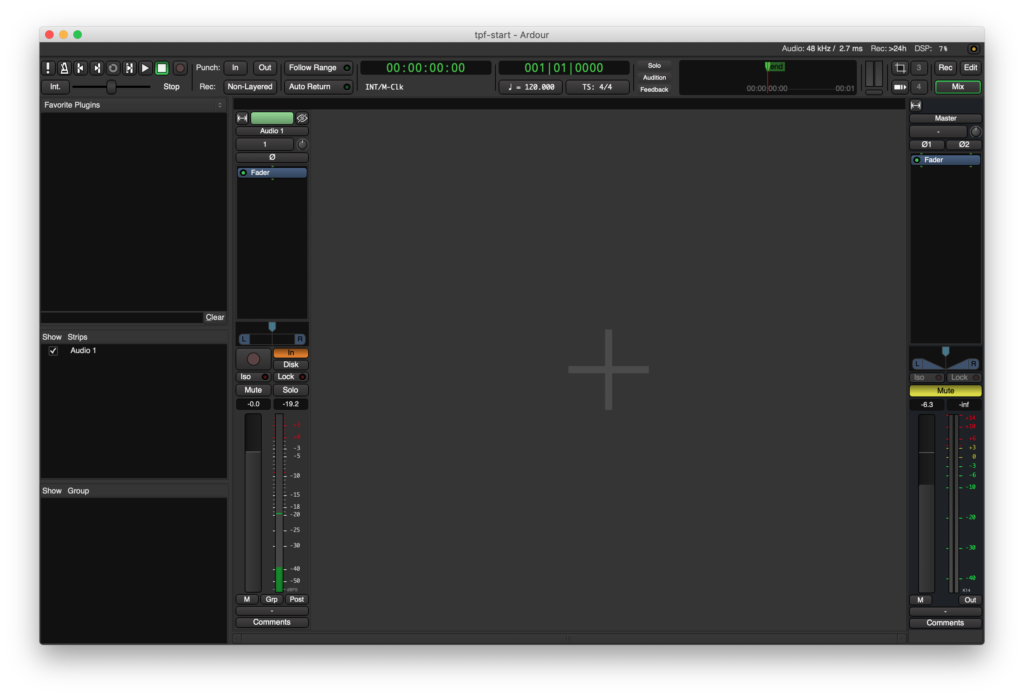
a. open Ardour with an empty template, e.g. ‘tpf-start.ardour’.
b. open the TPF-Client;
c. open an Ardour template or a new session; only then will Ardour and the TPF-Client be able to communicate with each other.
Alternatively, you can also start Ardour directly by double-clicking on its program icon in your application folder.
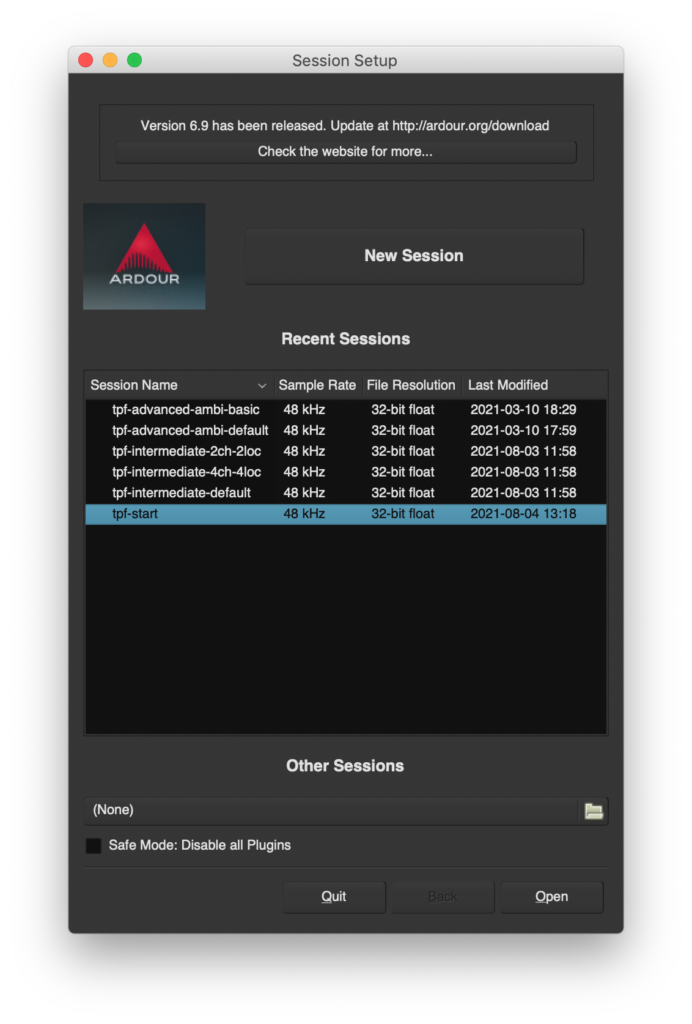
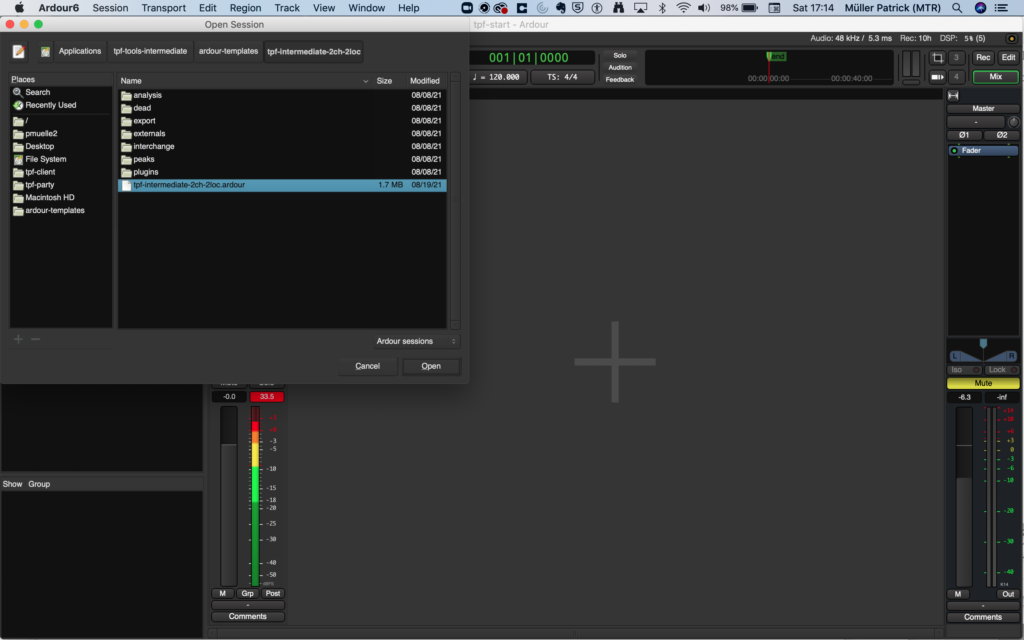
In the following dialogue window, choose the session name ‘tpf-start’ and press ‘Open’:
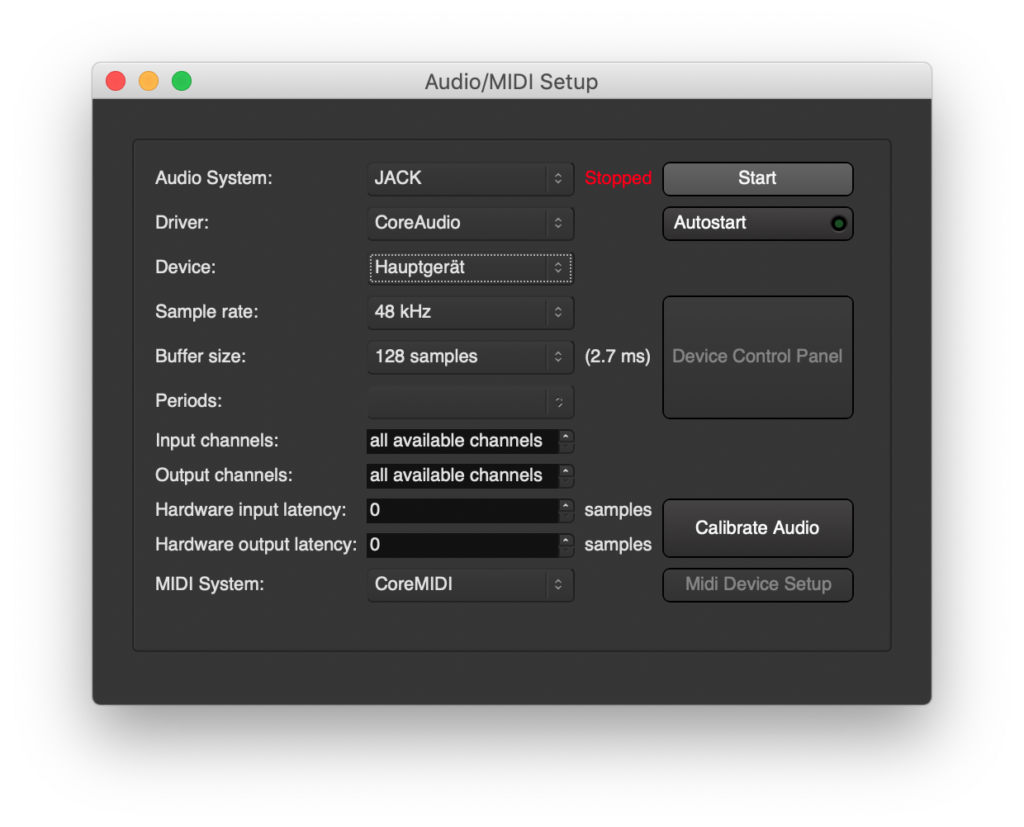
Make sure that Jack is running; in the ‘Audio-MIDI Setup’ window, make the following choices:
Audio System: ‘JACK’.
Driver: ‘CoreAudio’.
Device: your aggregate device (see Chapter C1 Section 4), interface (if you use an interface) or Built-in Device (if you use the microphone of your computer).
Sample rate: 48 kHz (other choices, like 44.1 kHz, are possible); please make sure that all devices (e.g. audio interface) use the same sample rate.
Buffer size: you can choose the buffer size independently from the TPF-Client; we usually choose 128 samples. Other choices are possible, however, the lower the buffer size, the lower the resulting latency; nevertheless, a low buffer size might reduce system stability and increases the affordances of your computer’s CPU.
c. Open the TPF-Client
Double click ‘tpf-client’ in your folder ‘tpf-tools-intermediate’. The client opens.
The use and functionalities of the TPF-Client are explained in Chapter C4.
3.3.3. Ardour’s Mixer window
Next, choose an Ardour template that meets your needs; you can use a series of pre-configured templates or create your unique templates.
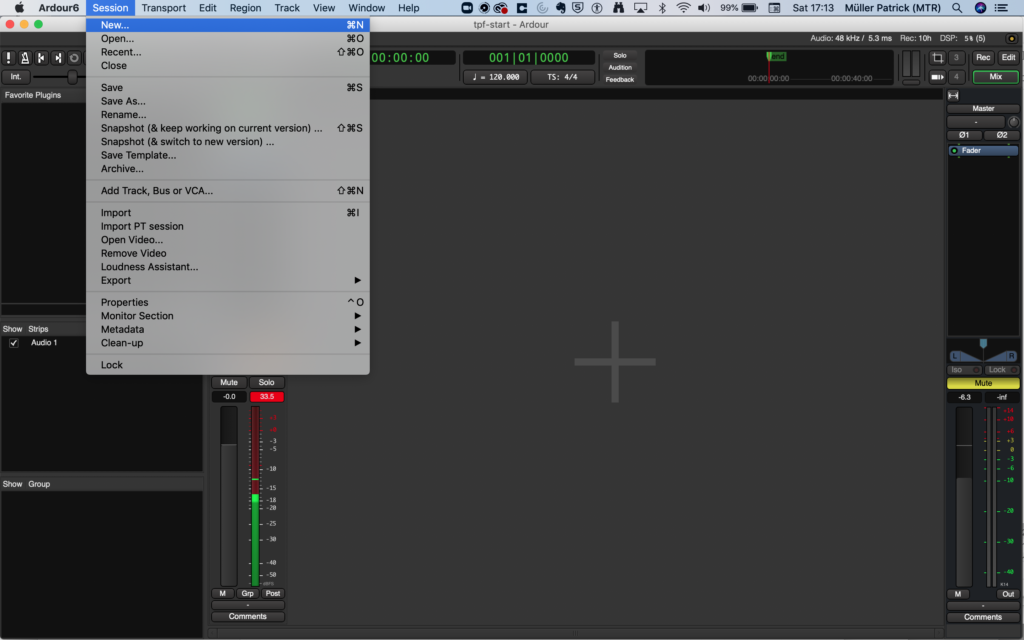
To select a pre-configured template (or a template which you have created earlier), press ‘command’ & ‘o’ in Ardour, or press ‘Open …’ in Ardour’s ‘Session’ menu.
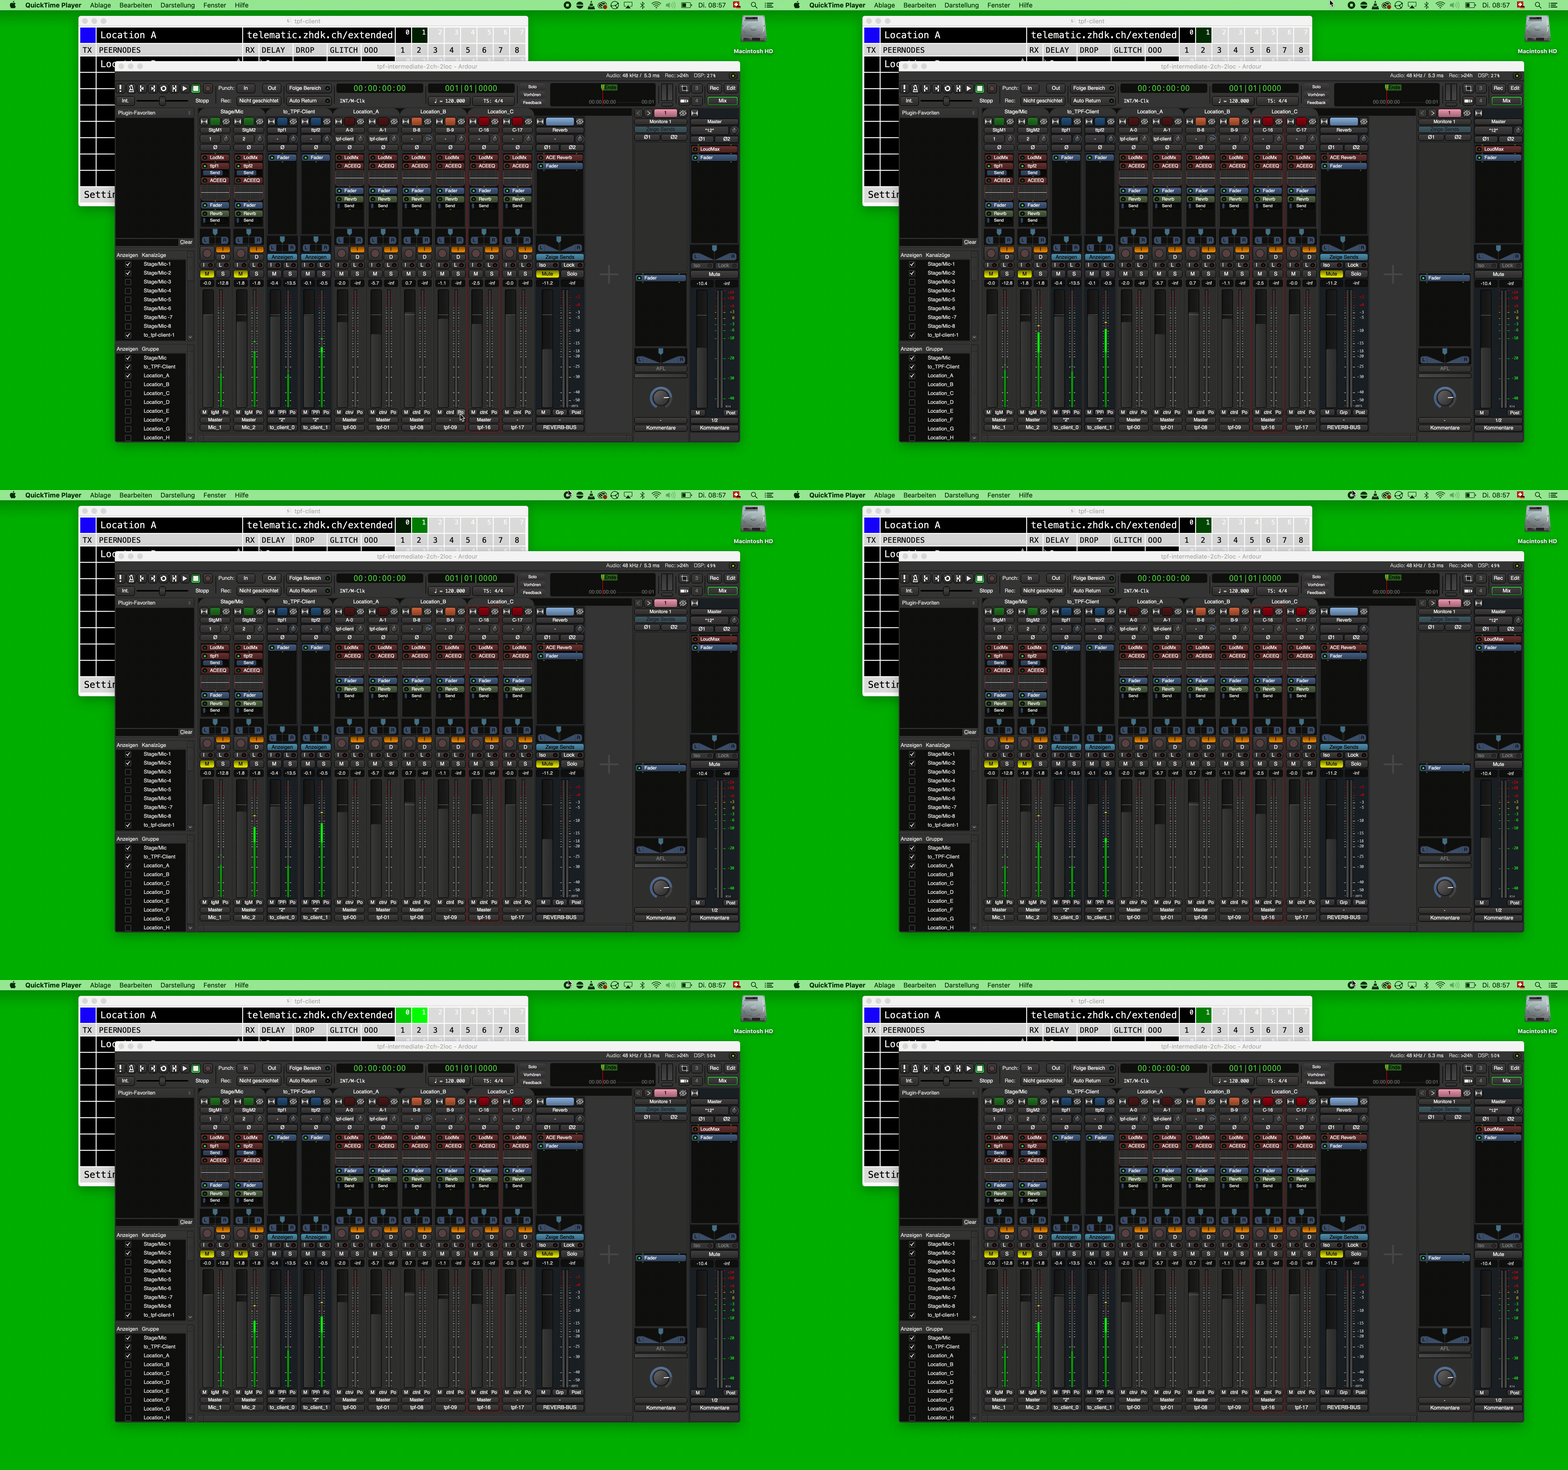
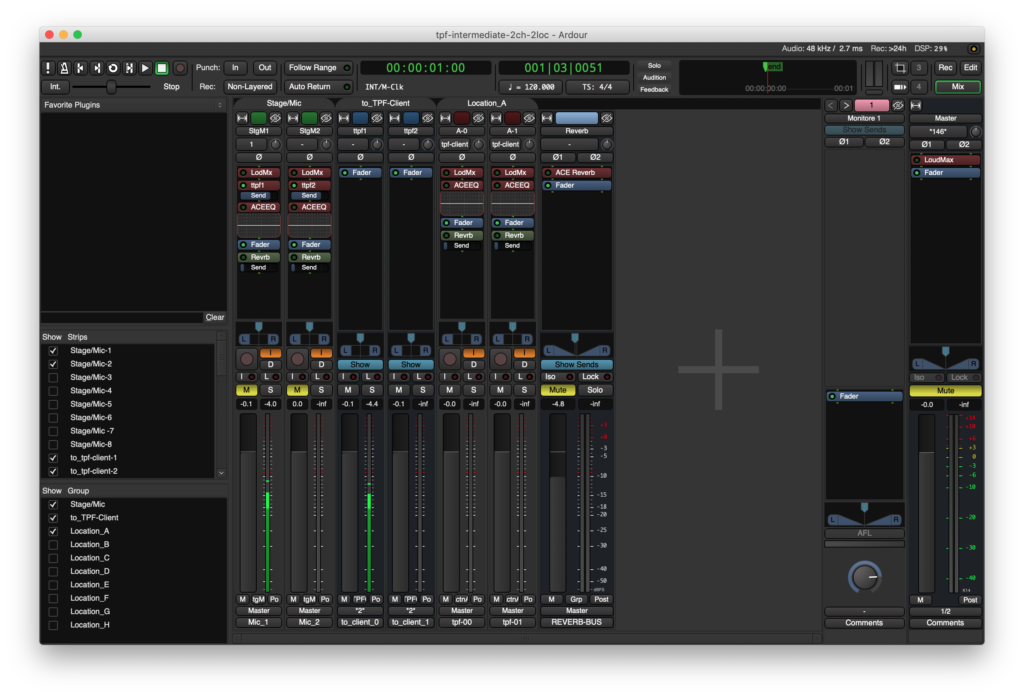
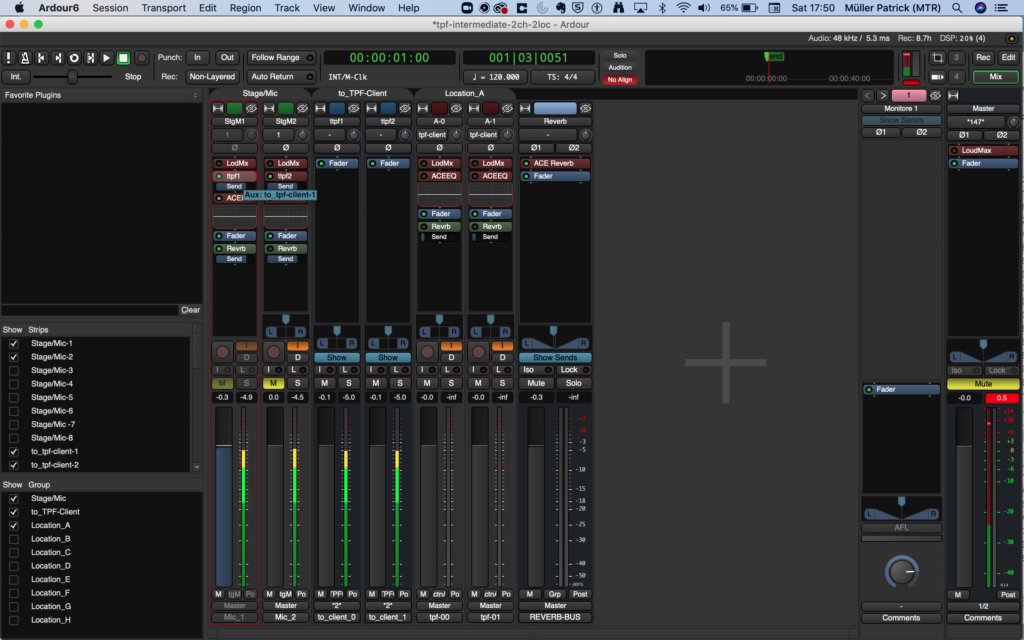
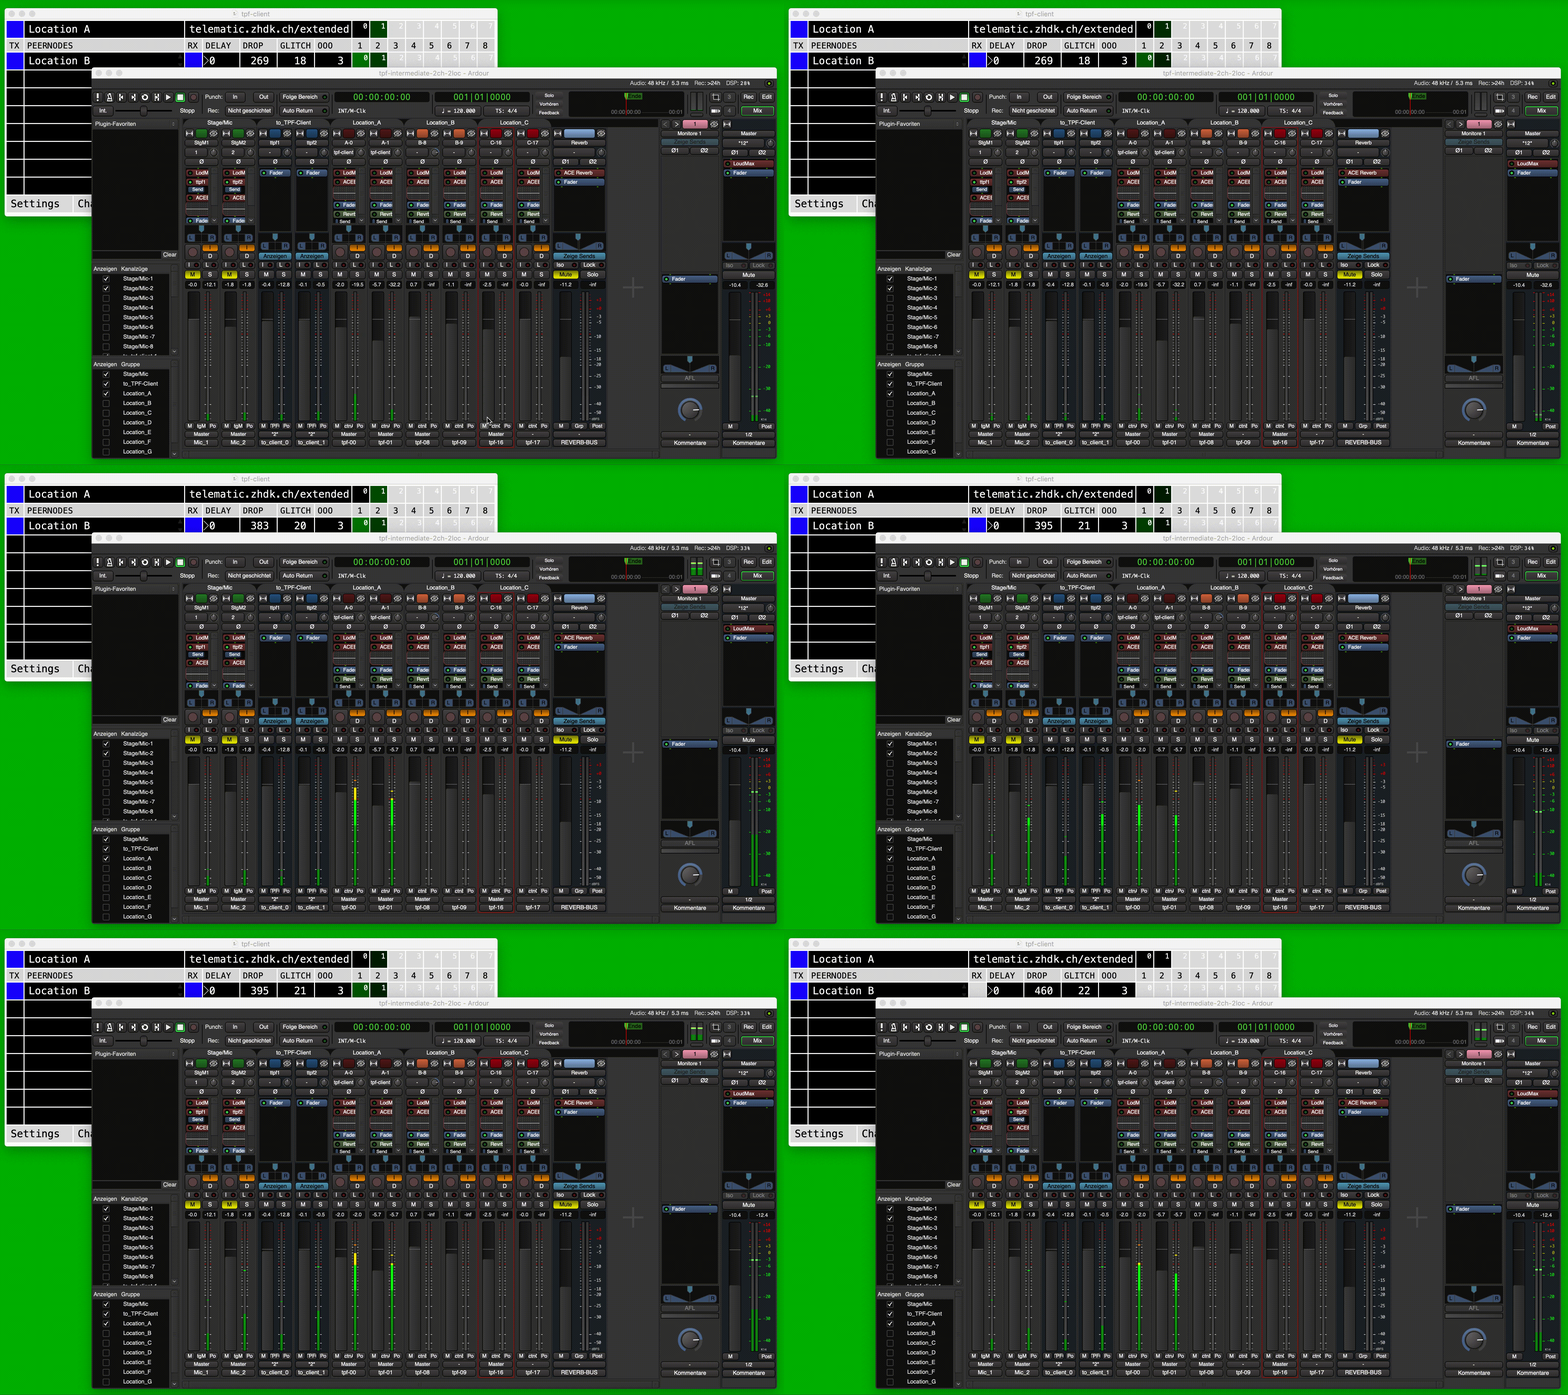
When Ardour’s Mixer Window opens, the following default strips are shown (template ‘tpf-intermediate-2ch-2loc’):
Stage/Mic (green): this is the signal captured by your microphones. These strips are routed to the Master for instances in which you want to include the local signals in your mix. To avoid feedback, the strips are muted. The use of these faders will not have an influence on the signal you send to the remote location.
Included in the strips is a limiter, an equaliser and a reverberation function; for further information see Section 7.
The signal of your microphone is sent to the mixer strip ‘to_tpf-client’ through an Aux Send.
to_TPF_client (blue): this is the same signal used for Stage/Mic and is sent, via the TPF-Client, to the remote location. Manipulating these strips influences on what is sent to the remote location, but not your local mix; so if the remote locations needs to receive more or less gain, use these faders.
Location A (red): this is the audio signal that you receive, via the TPF-Client, from the remote location(s). These strips are routed to the Master.
The default template shows two channel-strips for each location. If you need more than two channels or work with more than one remote location, you can select another Ardour-template or select more strips in the ‘Show Script’ section on the left side of the Mixer Window.
3.3.4. Audio routing with templates
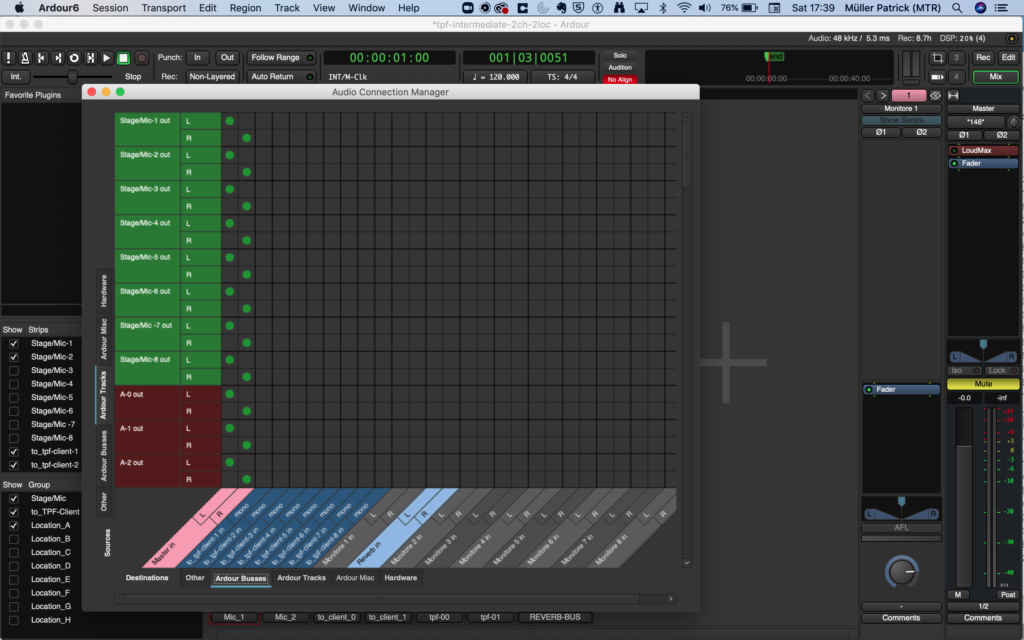
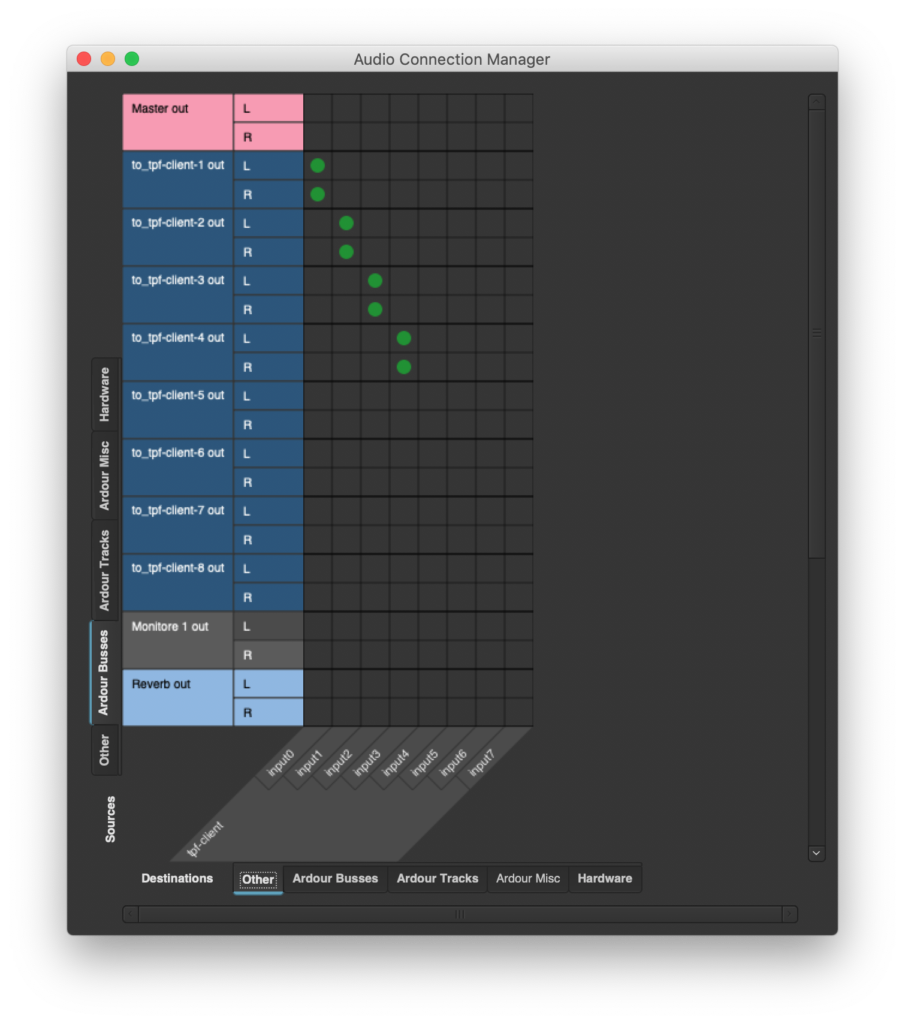
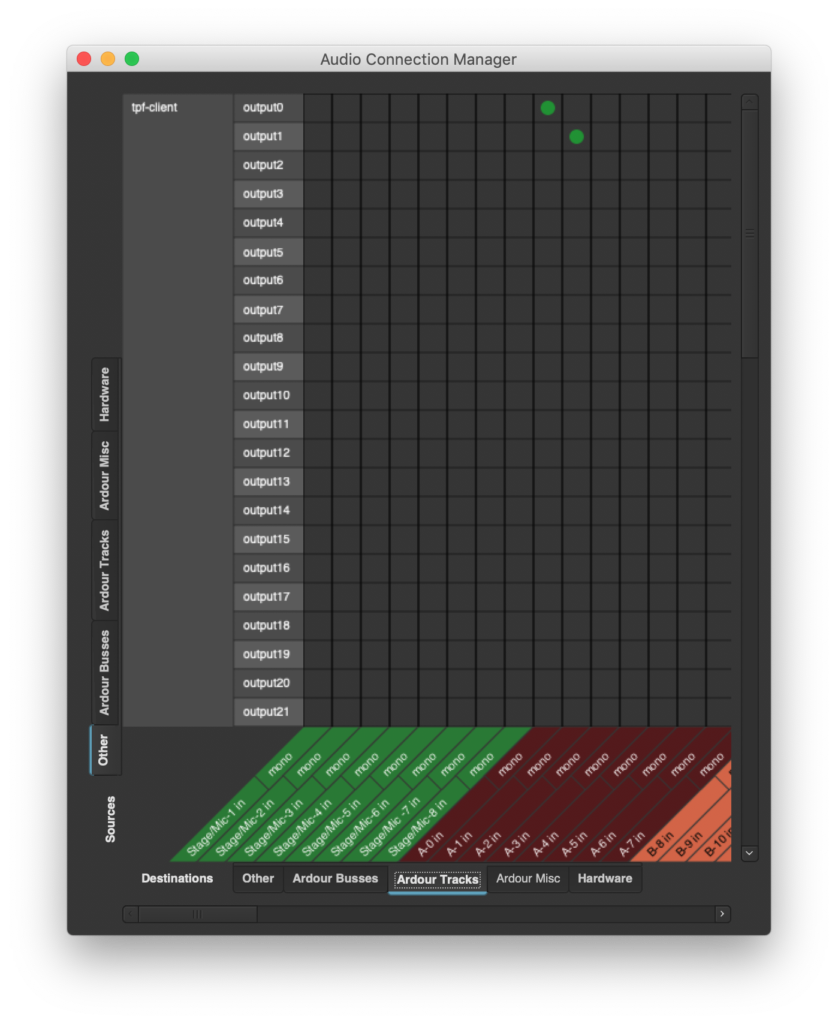
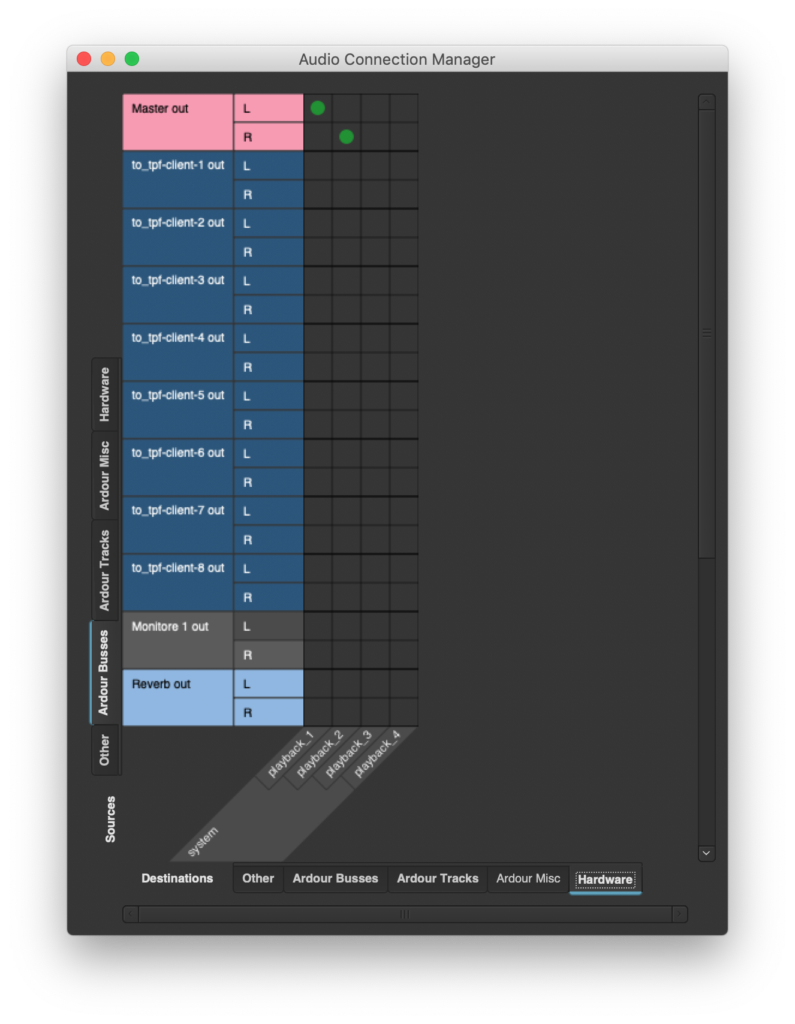
When starting TPF-Tools with the TPF-runner, the following routings between your hardware, the Ardour DAW and the TPF-Client are connected automatically.
It is also possible to create your own, unique templates. In this instance, each Ardour-template will need a corresponding audio connection template. The manual creation of such templates is explained in the following Section.
3.3.5. Audio routing manually
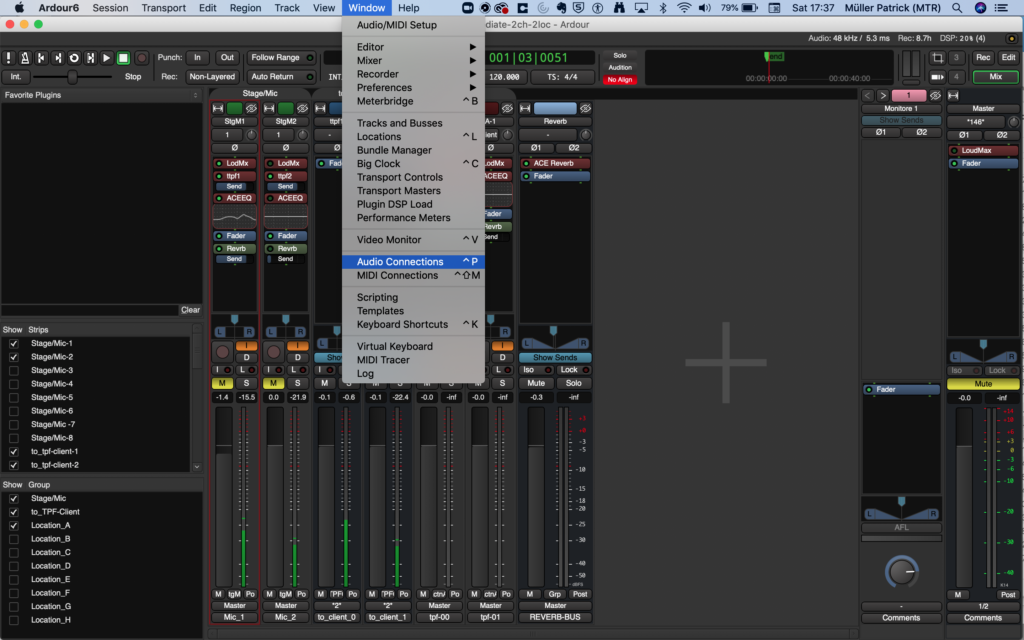
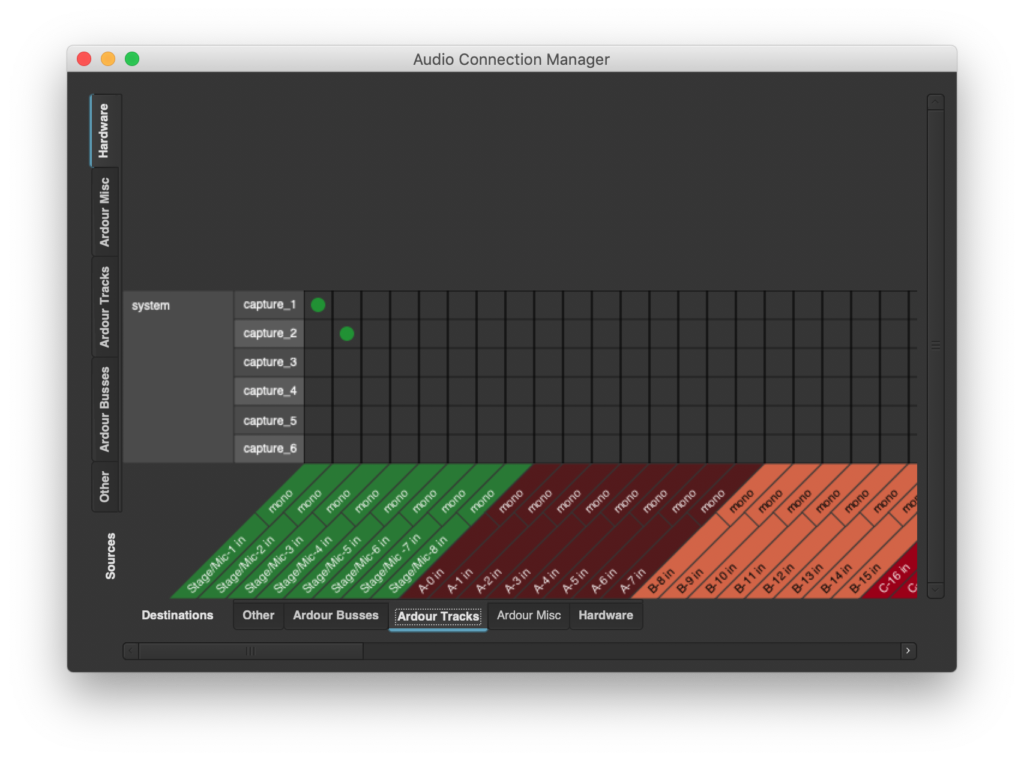
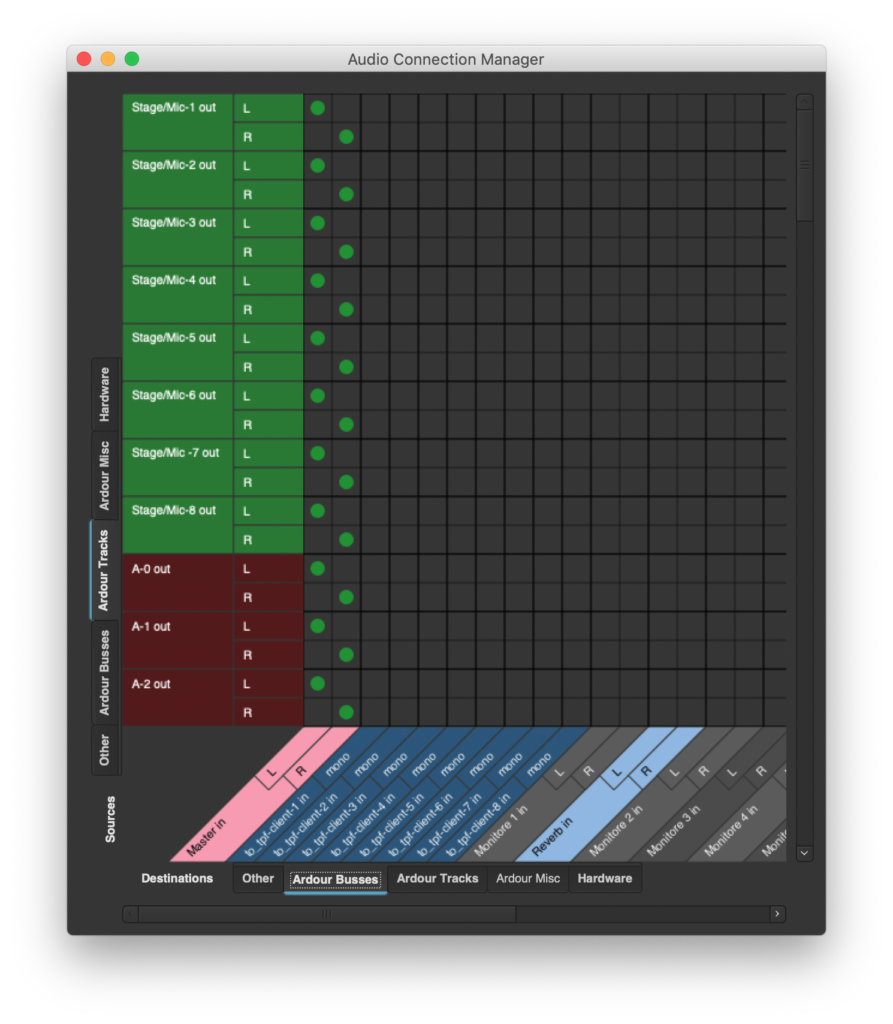
When using Ardour’s TPF-Templates, the routing is pre-configured and should guarantee the correct flow of the audio signals. Nevertheless, you might want to use your own routing. Find the routing windows in ‘Audio Connections’, located in Ardour’s ‘Windows’ menu (shortcut: control + p).
In the ‘Audio Connection’ window, the menu on the left hand side lists the sources, this is where your audio signal comes from, in the mixer strip. The menu at the bottom lists the destinations. This is where your signal goes to, from the mixer strip.
a. capturing the microphones / instruments to stage inputs
The signal from the microphones / instruments is sent through an Aux Send from the mixer strip ‘Stage/Mic’ to the mixer strip ‘to_tpf-client’:
Important: save your Ardour session!
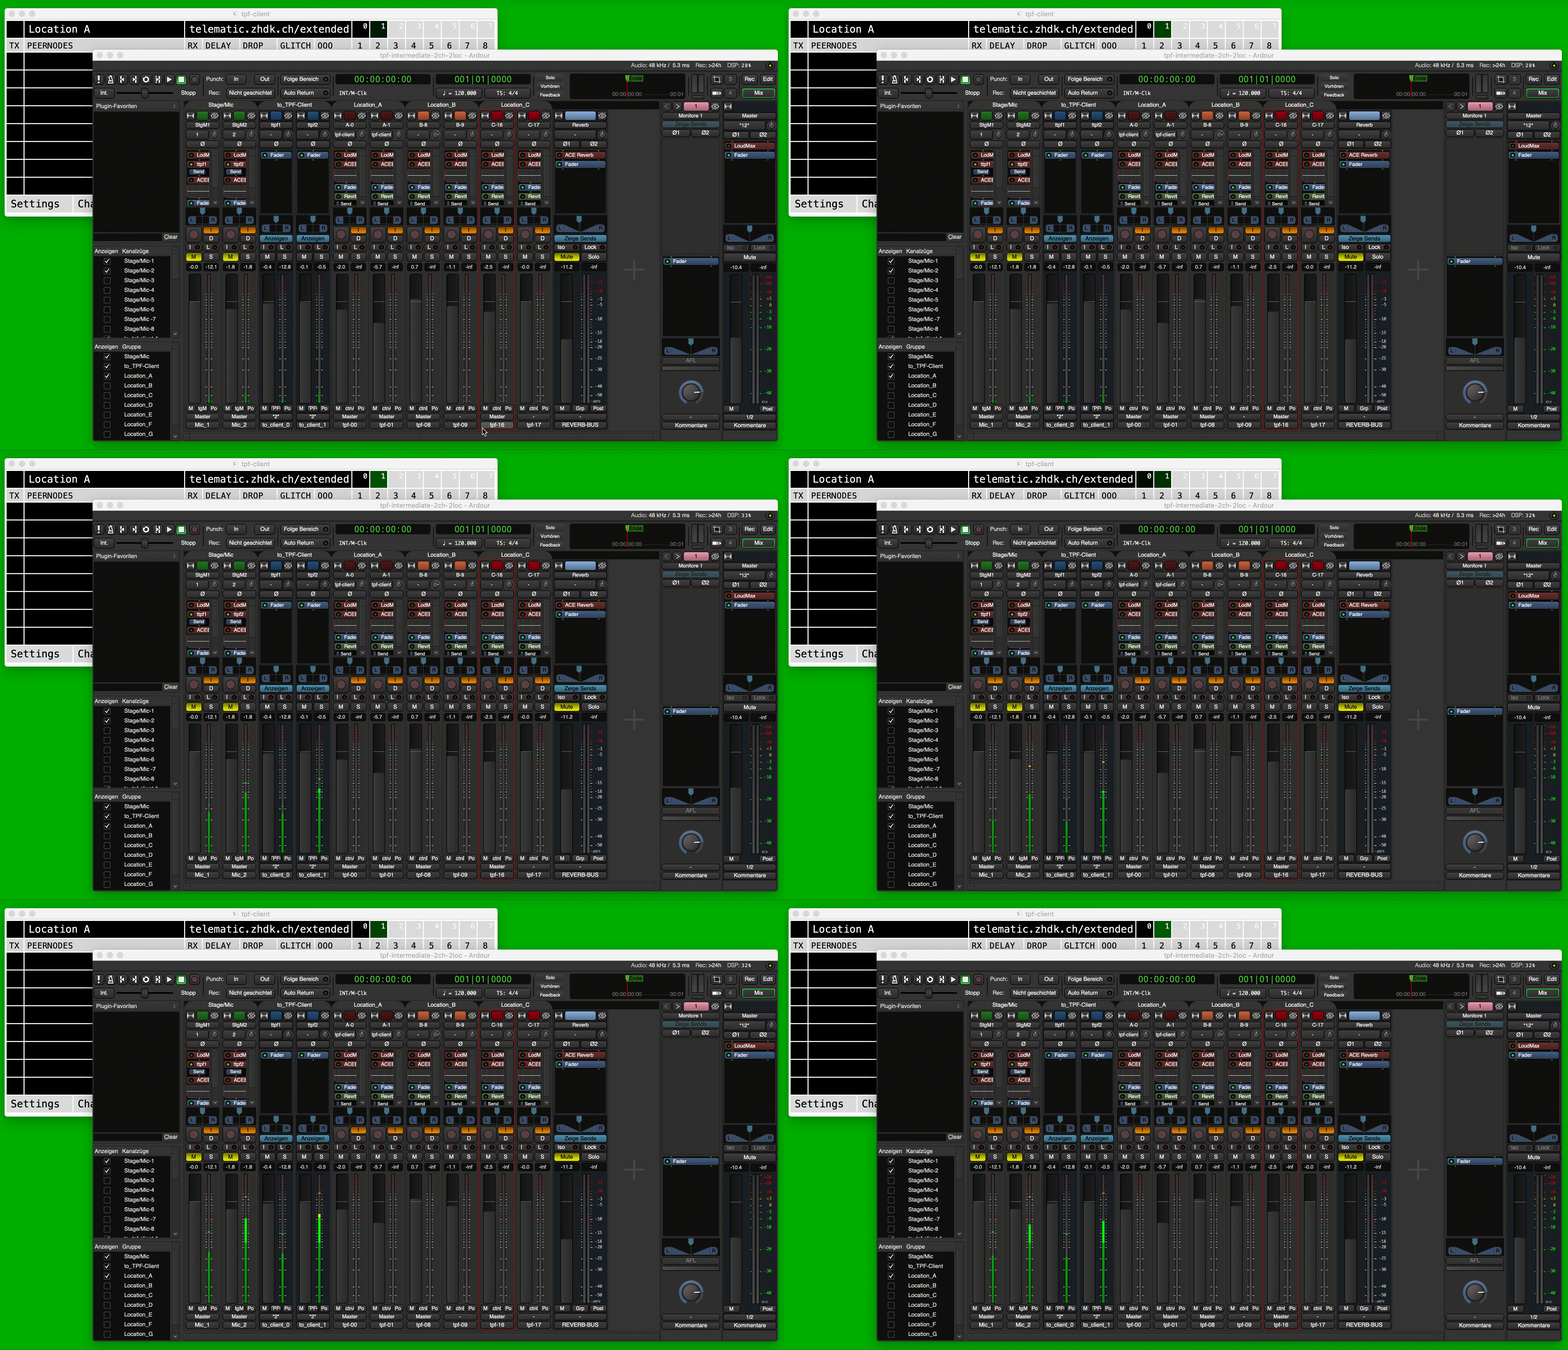
3.3.6. Testing your routing
7. Use of plugins for audio processing
If you are an experienced user of Digital Audio Workstations, you may wish to use plugins to process your audio, e.g. adding reverberation, using a limiter or equalizer, etc. In the Ardour templates delivered with the bundle, some plugins have been integrated but are deactivated in the templates. To activate them, just click on the little green knot in the plugin-section of the strips.
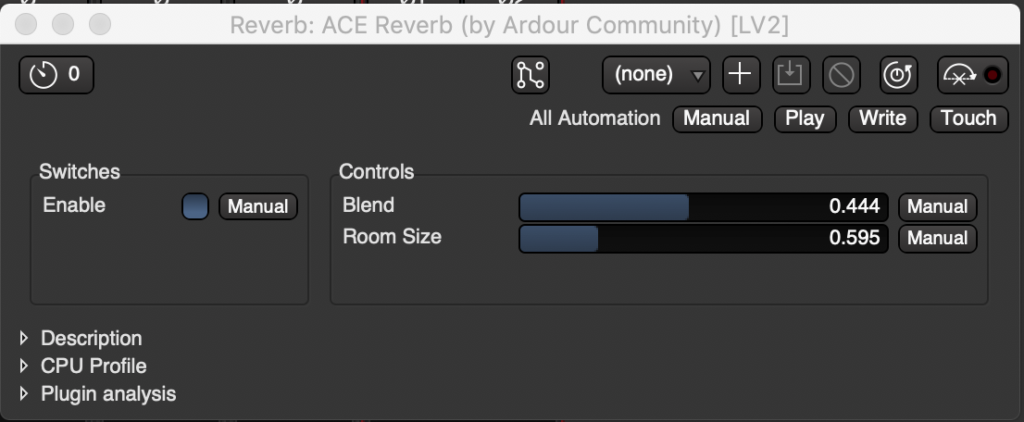
The following plugins are integrated in all mixer strips in the default templates:
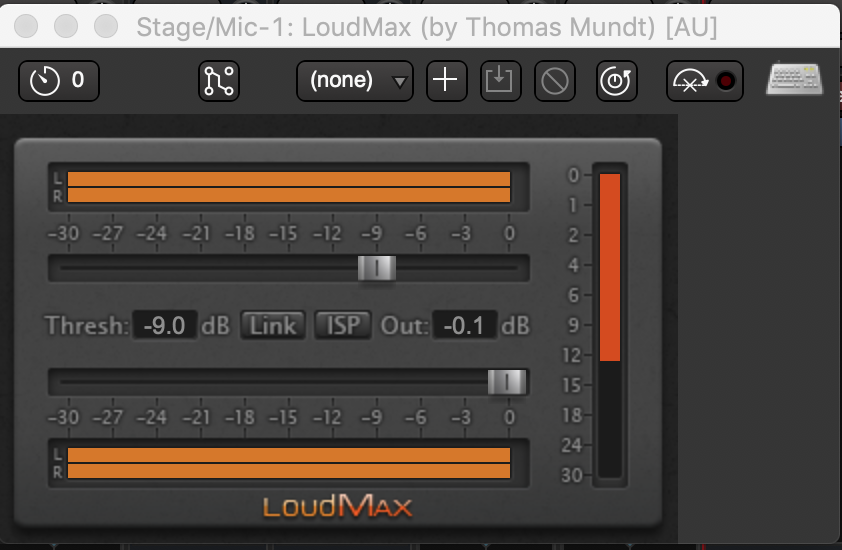
LoudMax by Thomas Mundt: this Limiter / Maximiser includes sliders for threshold and output level, meters for inputs, outputs and gain reduction and allows users to apply ISP; further information, see: https://loudmax.blogspot.com/.
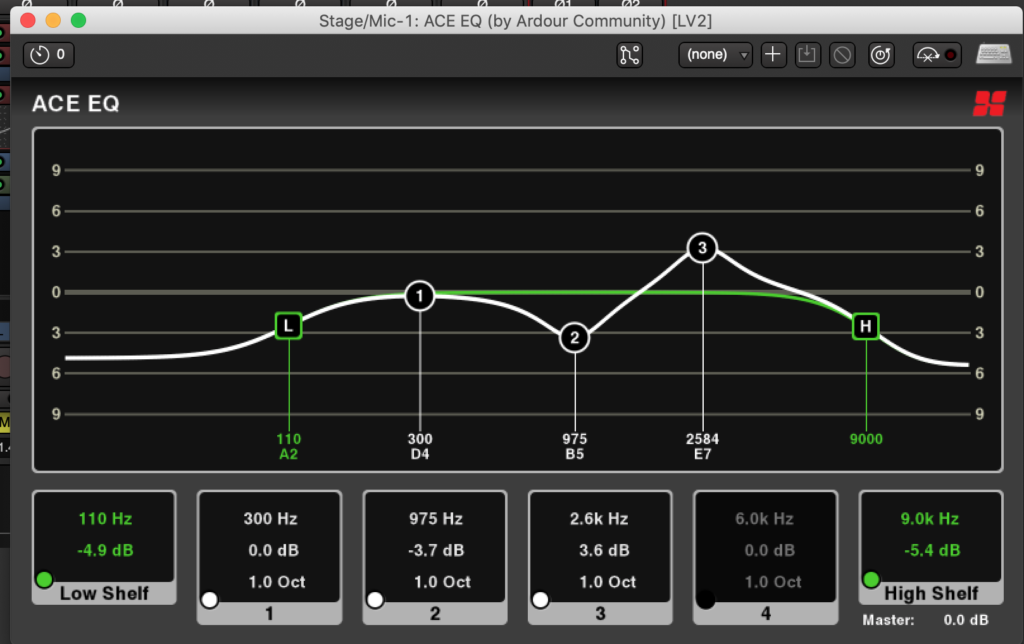
ACE EQ by Ardour Community: a 4-band parametric equaliser with shelves; for further information, see: https://manual.ardour.org/mixing/plugin-and-hardware-inserts/plugins-bundled-with-ardour/.
3.3.8. Record your session
You can record your session in the ‘Rec Window’ of Ardour. Activate the channels you want to record by clicking on the round knobs, they will turn red. To record, click on the recording knob in the upper left corner of the ‘Editor Window’ or the ‘Mixer Window’. To playback the recording, click ‘Disk’ in the channel strips.

