3.2.1. Starting the audio-connection with the TPF-Audio-Runner
3.2.2. Starting the audio-connection directly (without using the TPF-Audio-Runner).
3.2.3. Starting the video-connection with the TPF-Video-Runner
Before starting TPF-Tools and making an audio- and video-connection, you have to download, install and pre-configure the utilities involved. If you have not done this already, you can find instructions to do so in Chapter C1.
You have two options to start the audio- and video-connection. The easy way is to use the TPF-Runner which guides you through the different steps to establish a connection (below Sections 1, audio, and Section 2, video).
If you are an experienced user, it can be easier to start the audio- and video-tools manually without using the TPF-Runners (Section 3).
3.2.1. Starting the audio-connection with the TPF-Runner
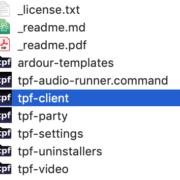
Double click ‘tpf-audio-runner.command’ in the ‘tpf-tools-intermediate’ folder to start the process.
A Terminal window will open.
The instructions in the Terminal window should be self-explanatory and will guide you through the process of establishing an audio-connection with your remote location(s).
The explanations in this chapter give an overview on the architecture of TPF-Intermediate. They will allow you, at a later stage, to adapt the functions of the programme to your individual needs and will assist with troubleshooting.
A more detailed manual of the TPF-Tool’s components follow in Chapters C3 and C4.
a. Start the TPF-Audio-Runner
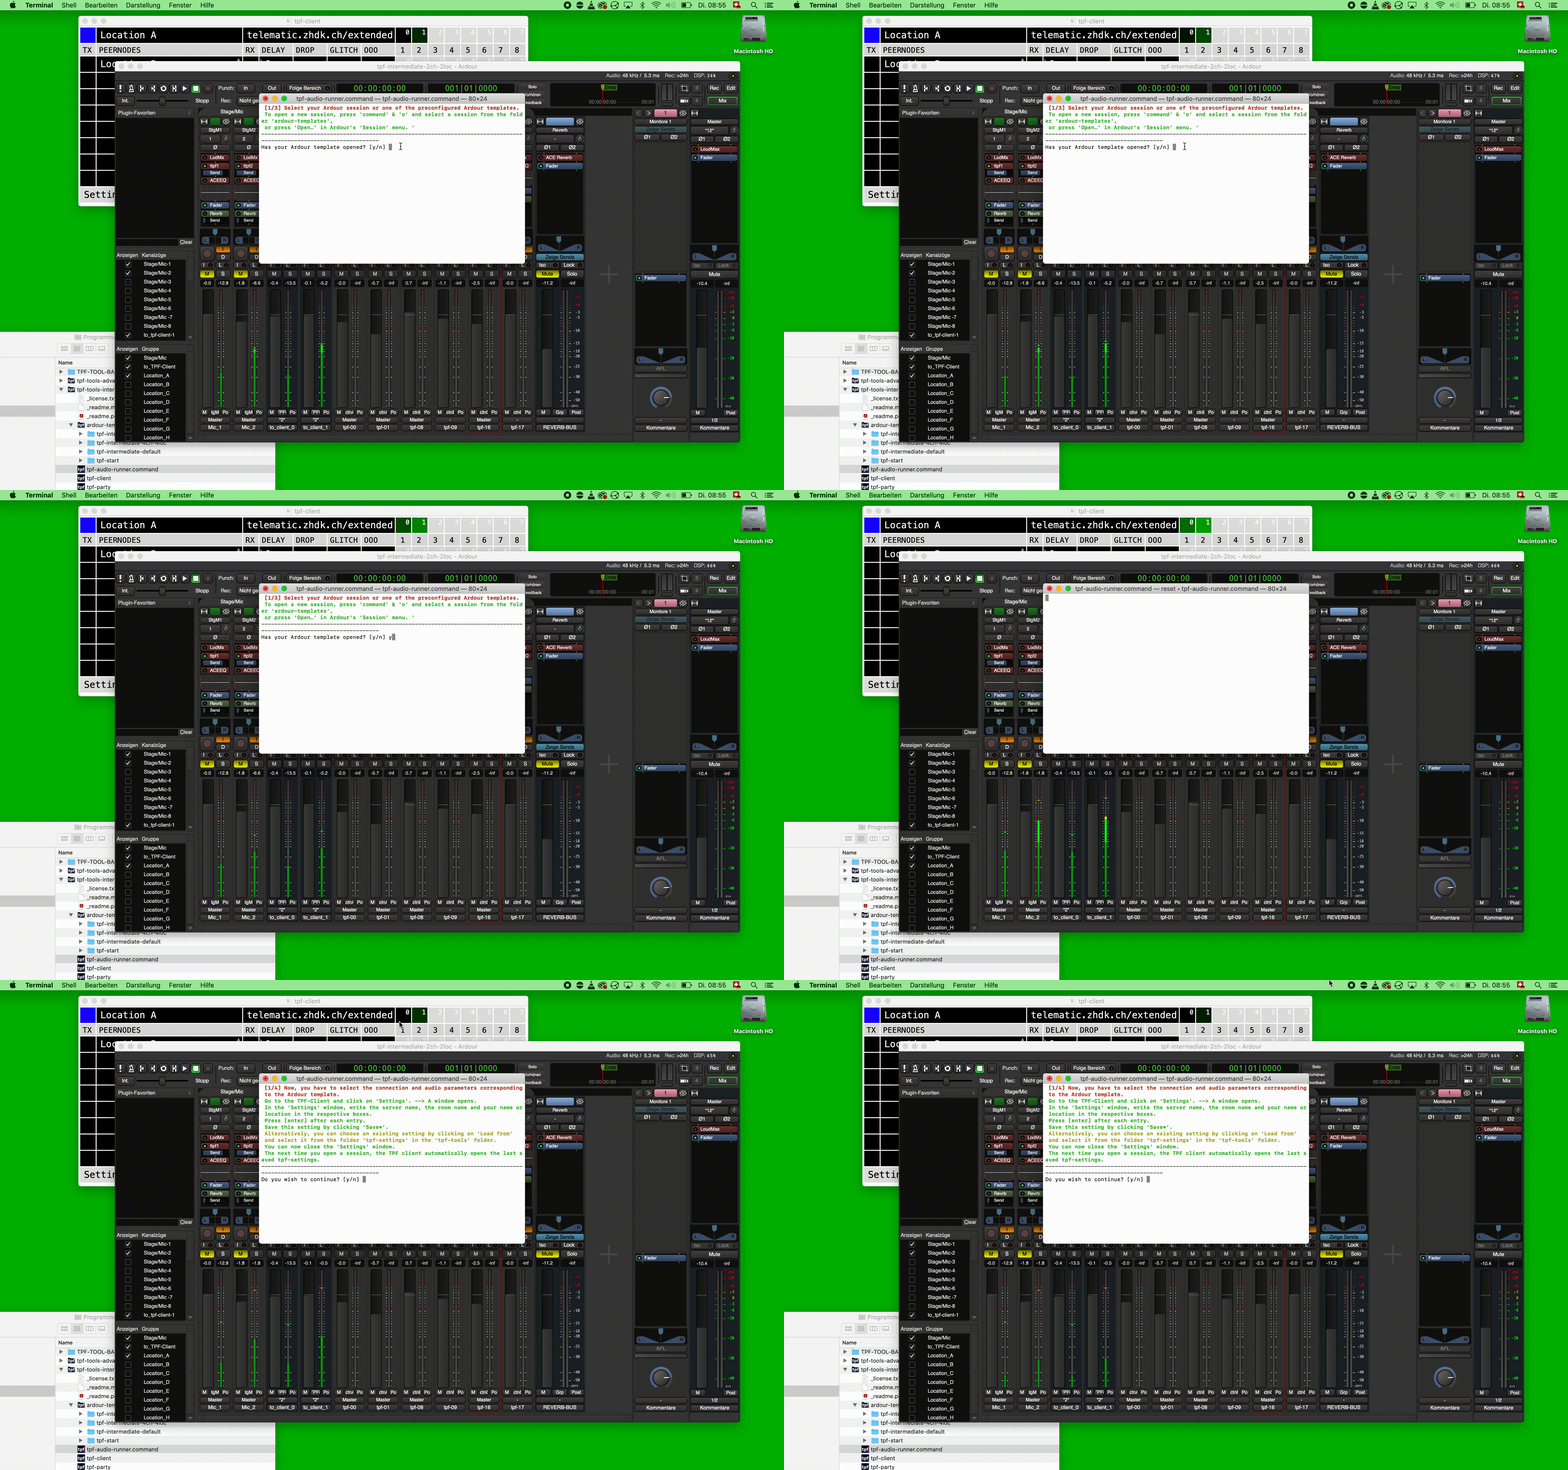
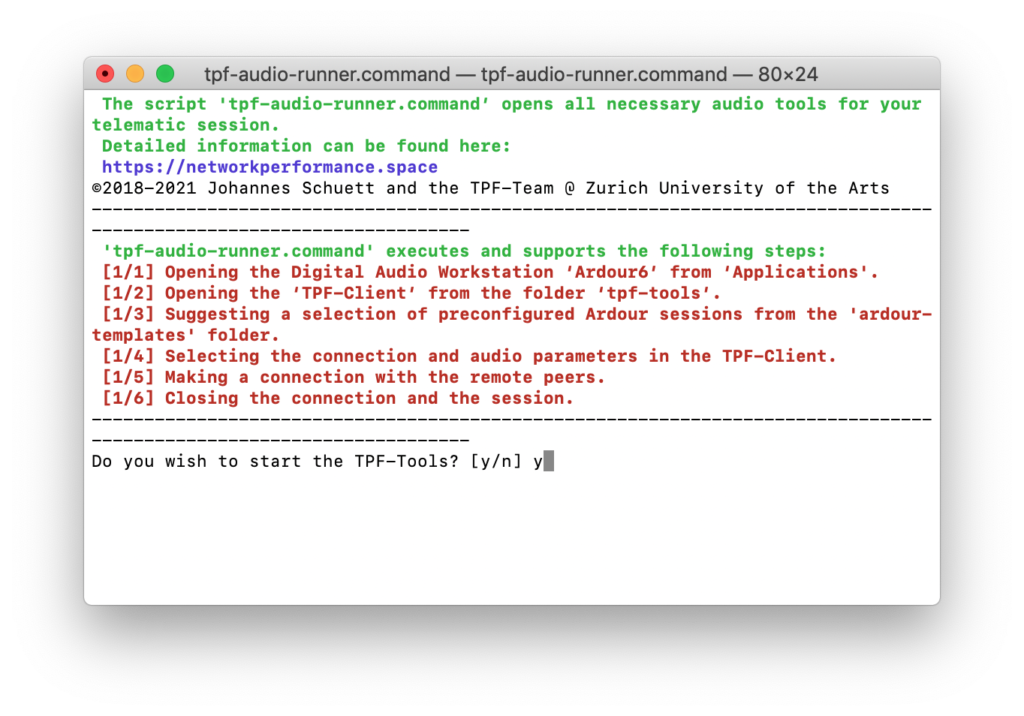
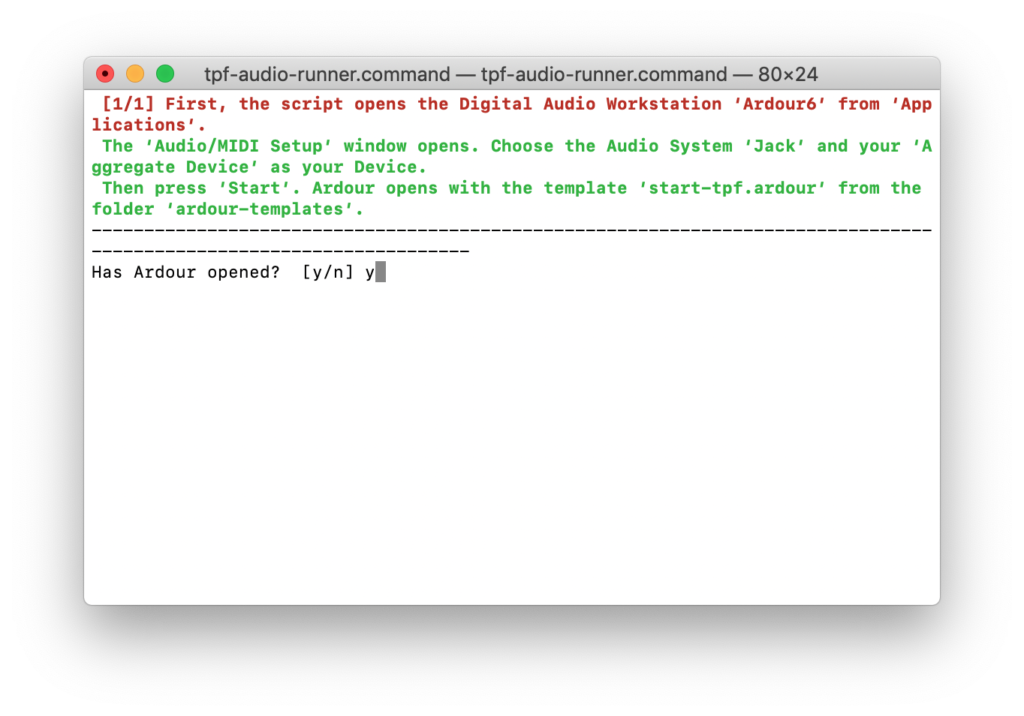
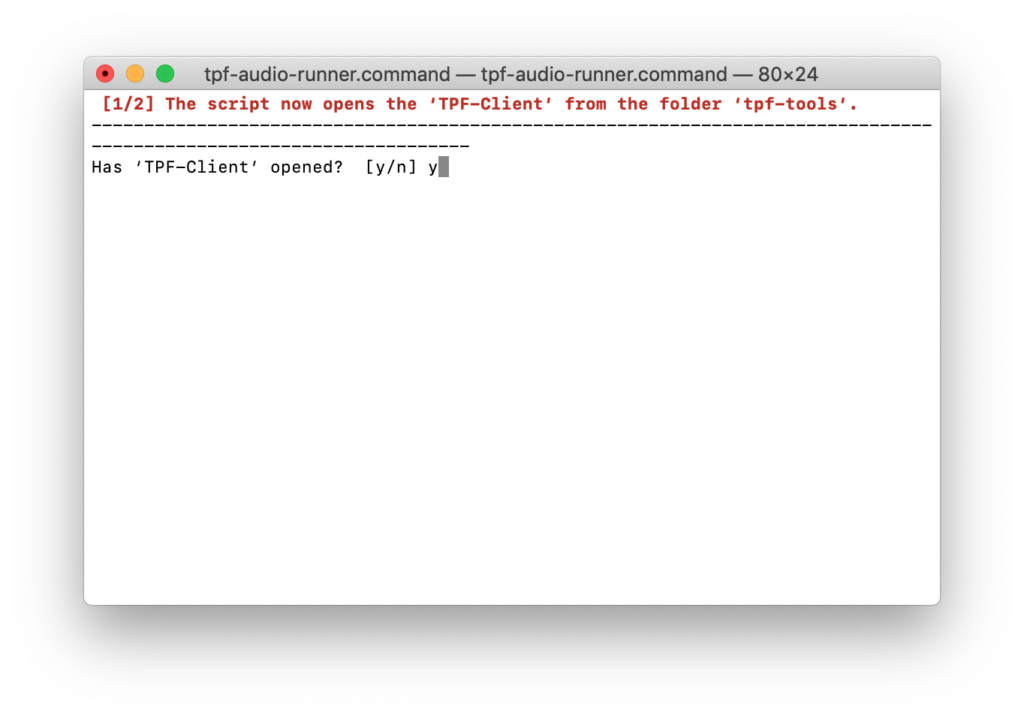
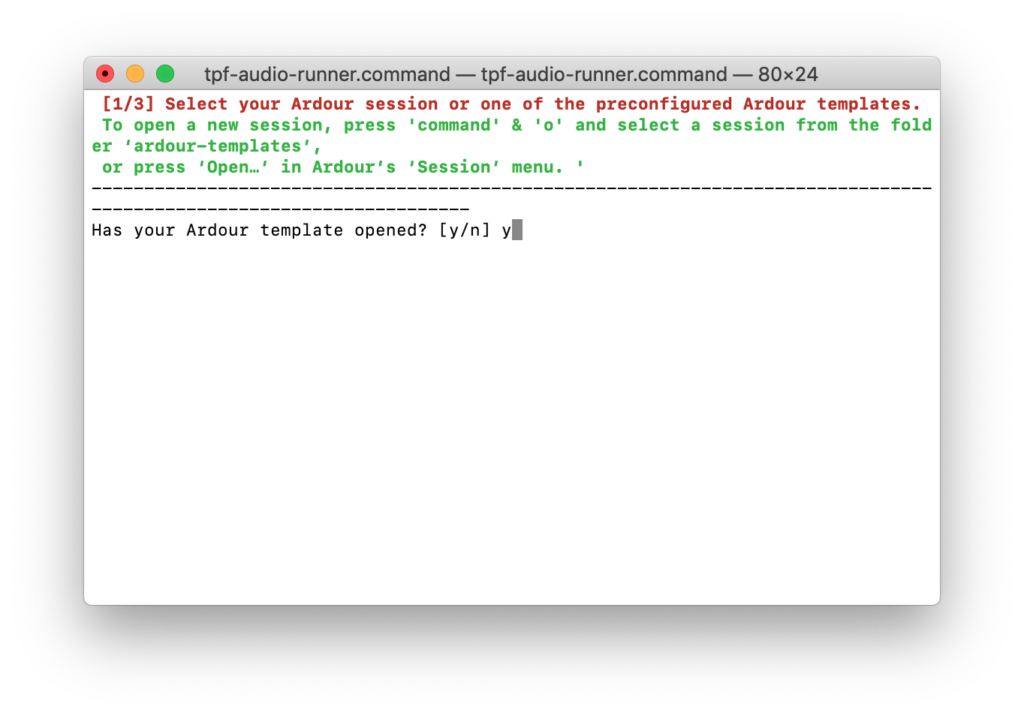
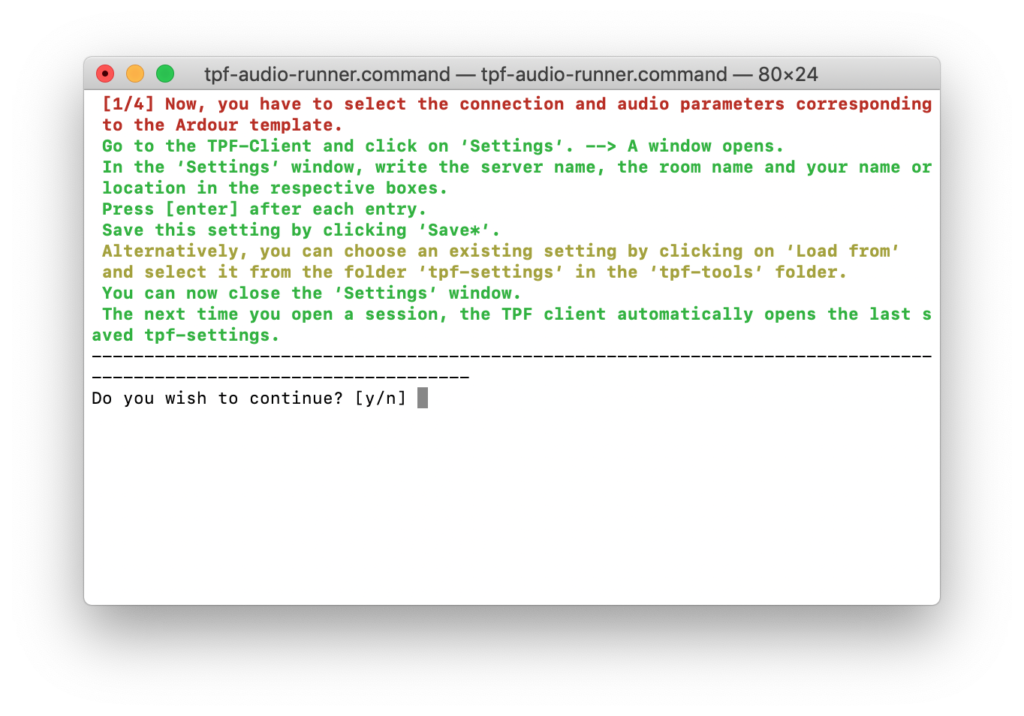
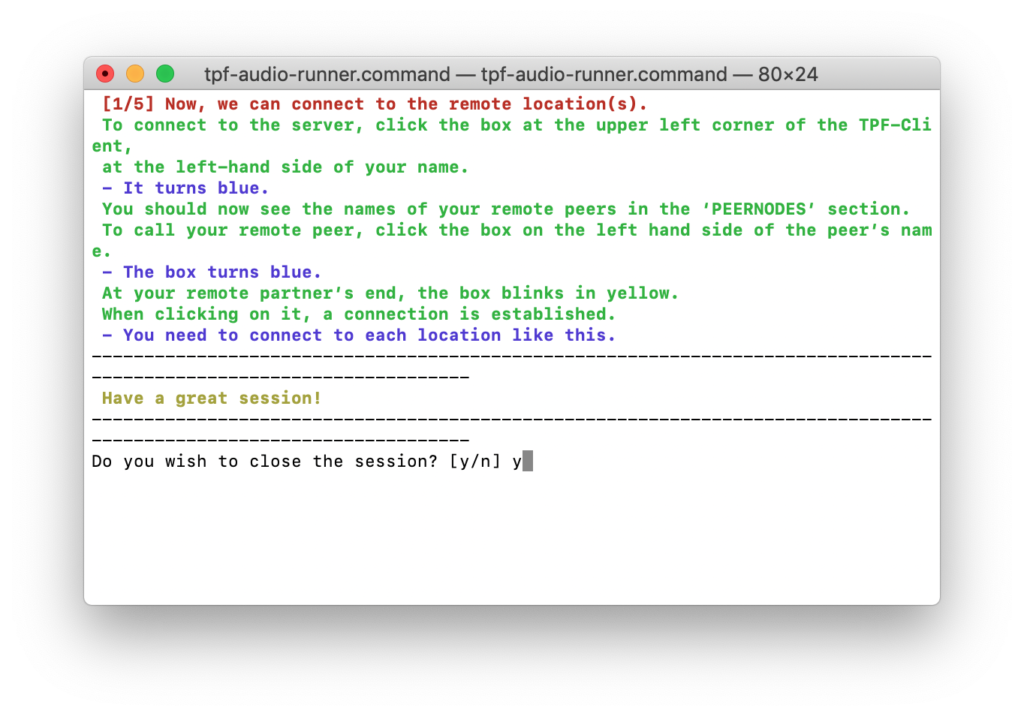
Double-click ‘tpf-audio-runner.command’ in the ‘tpf-tools-intermediate’ or ‘tpf-tools-advanced’ folder. The following terminal window will appear:
First, the digital audio workstation Ardour opens.
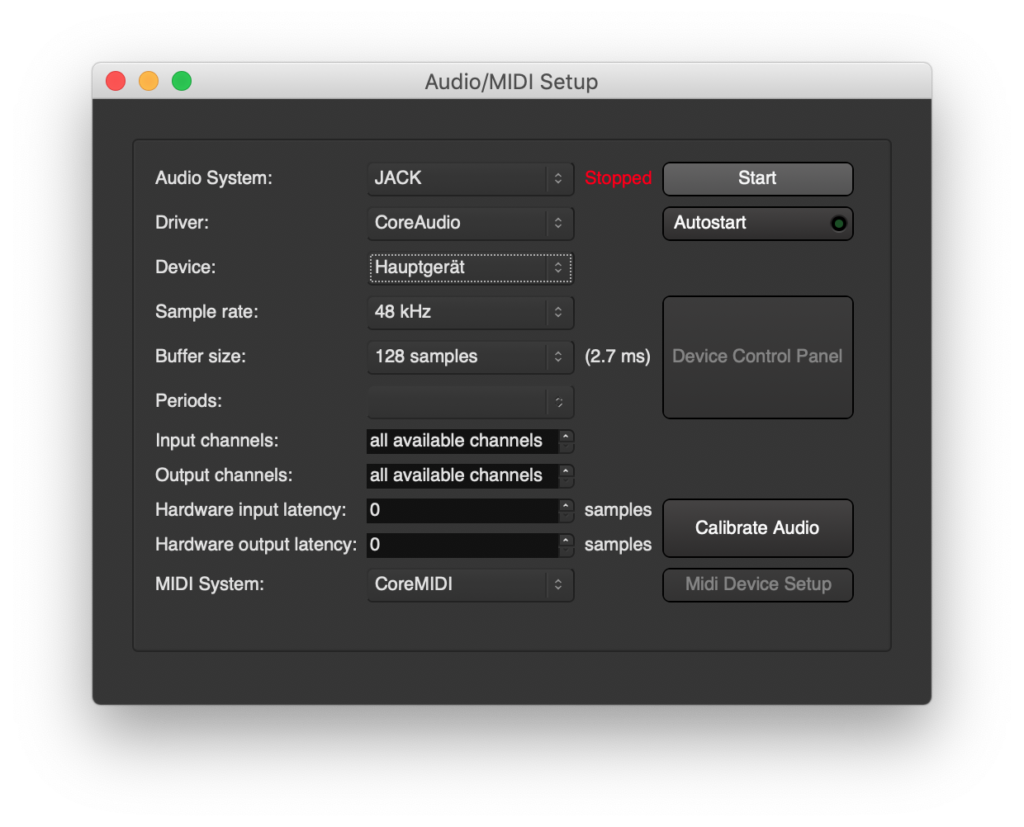
After confirming with ‘y’ (for ‘yes’) and pressing ‘Enter’, Ardour will open with the following dialogue window:
In the ‘Audio-MIDI Setup’ window, make the following choices:
Audio System: ‘JACK’
Driver: ‘CoreAudio’
Device: your Aggregate Device
Sample rate: 48 kHz (other choices like 44.1 kHz are possible); make sure that all devices have the same sample rate.
Buffer size: 128 samples (other choices are possible, however, the lower the buffer size, the lower the resulting latency; nevertheless, a low buffer size might reduce system stability and increases the affordances of your computer’s CPU.
Then press ‘Start’.
Ardour is now running on Jack, this is exactly what we need.
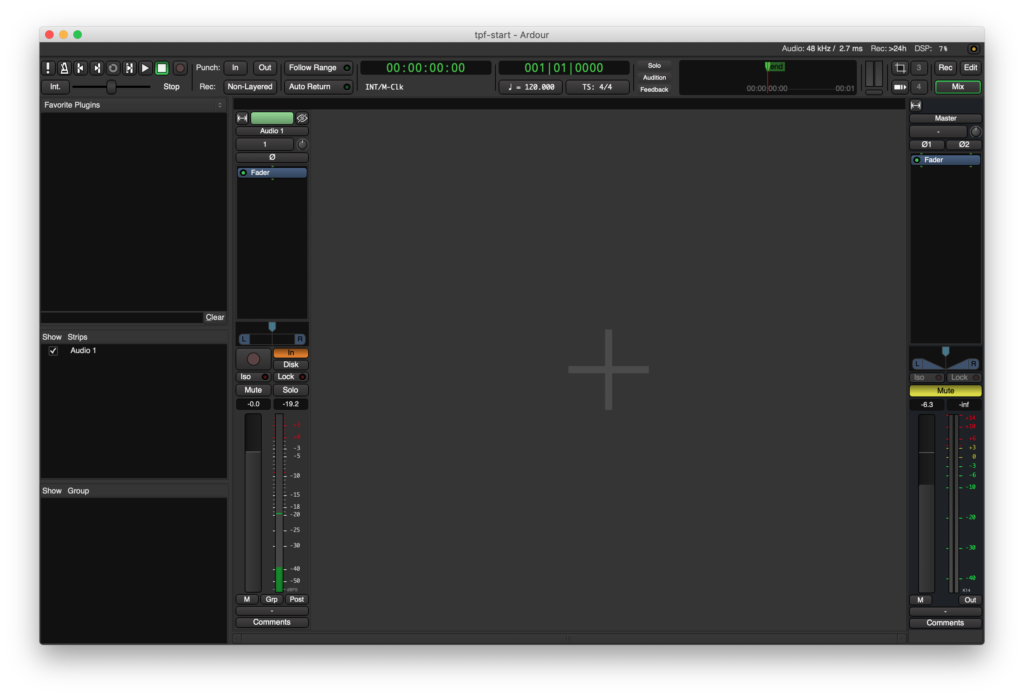
Ardour opens a nearly empty template (‘tpf-start’):
Next choose an Ardour template that meets your needs; you can use a series of pre-configured templates or create unique templates.
For an introduction how to create unique templates, go to Chapter C3.
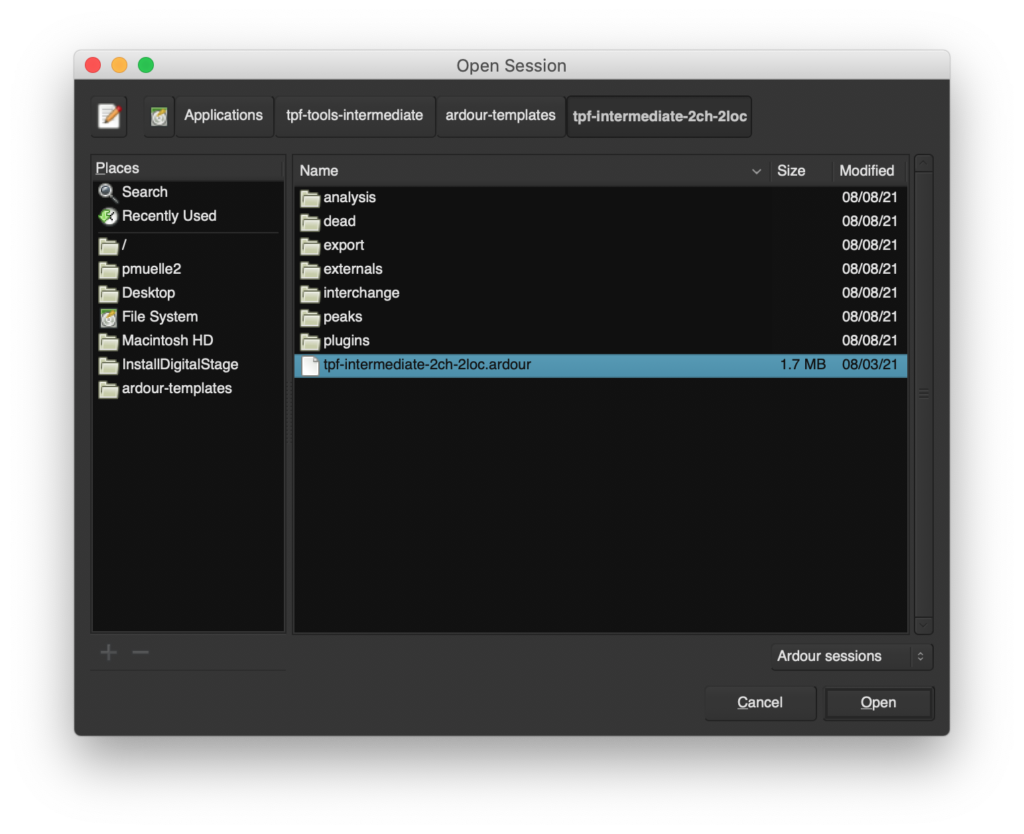
To select a pre-configured template (or a template which you have created earlier), press ‘command’ & ‘o’ in Ardour or press ‘Open …’ in Ardour’s ‘Session’ menu.
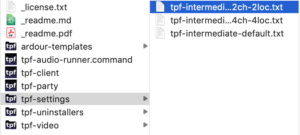
Select a session from the folder ‘ardour-templates’ which you find in your tpf-tool’s folder (e.g. ‘tpf-intermediate-2ch-2loc.ardour’):
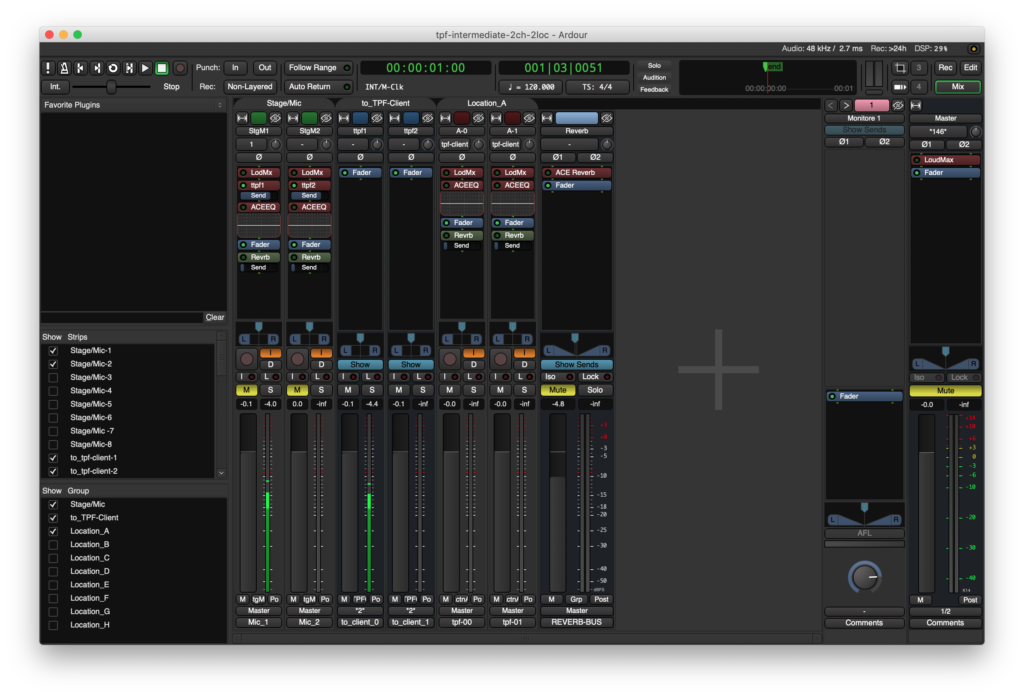
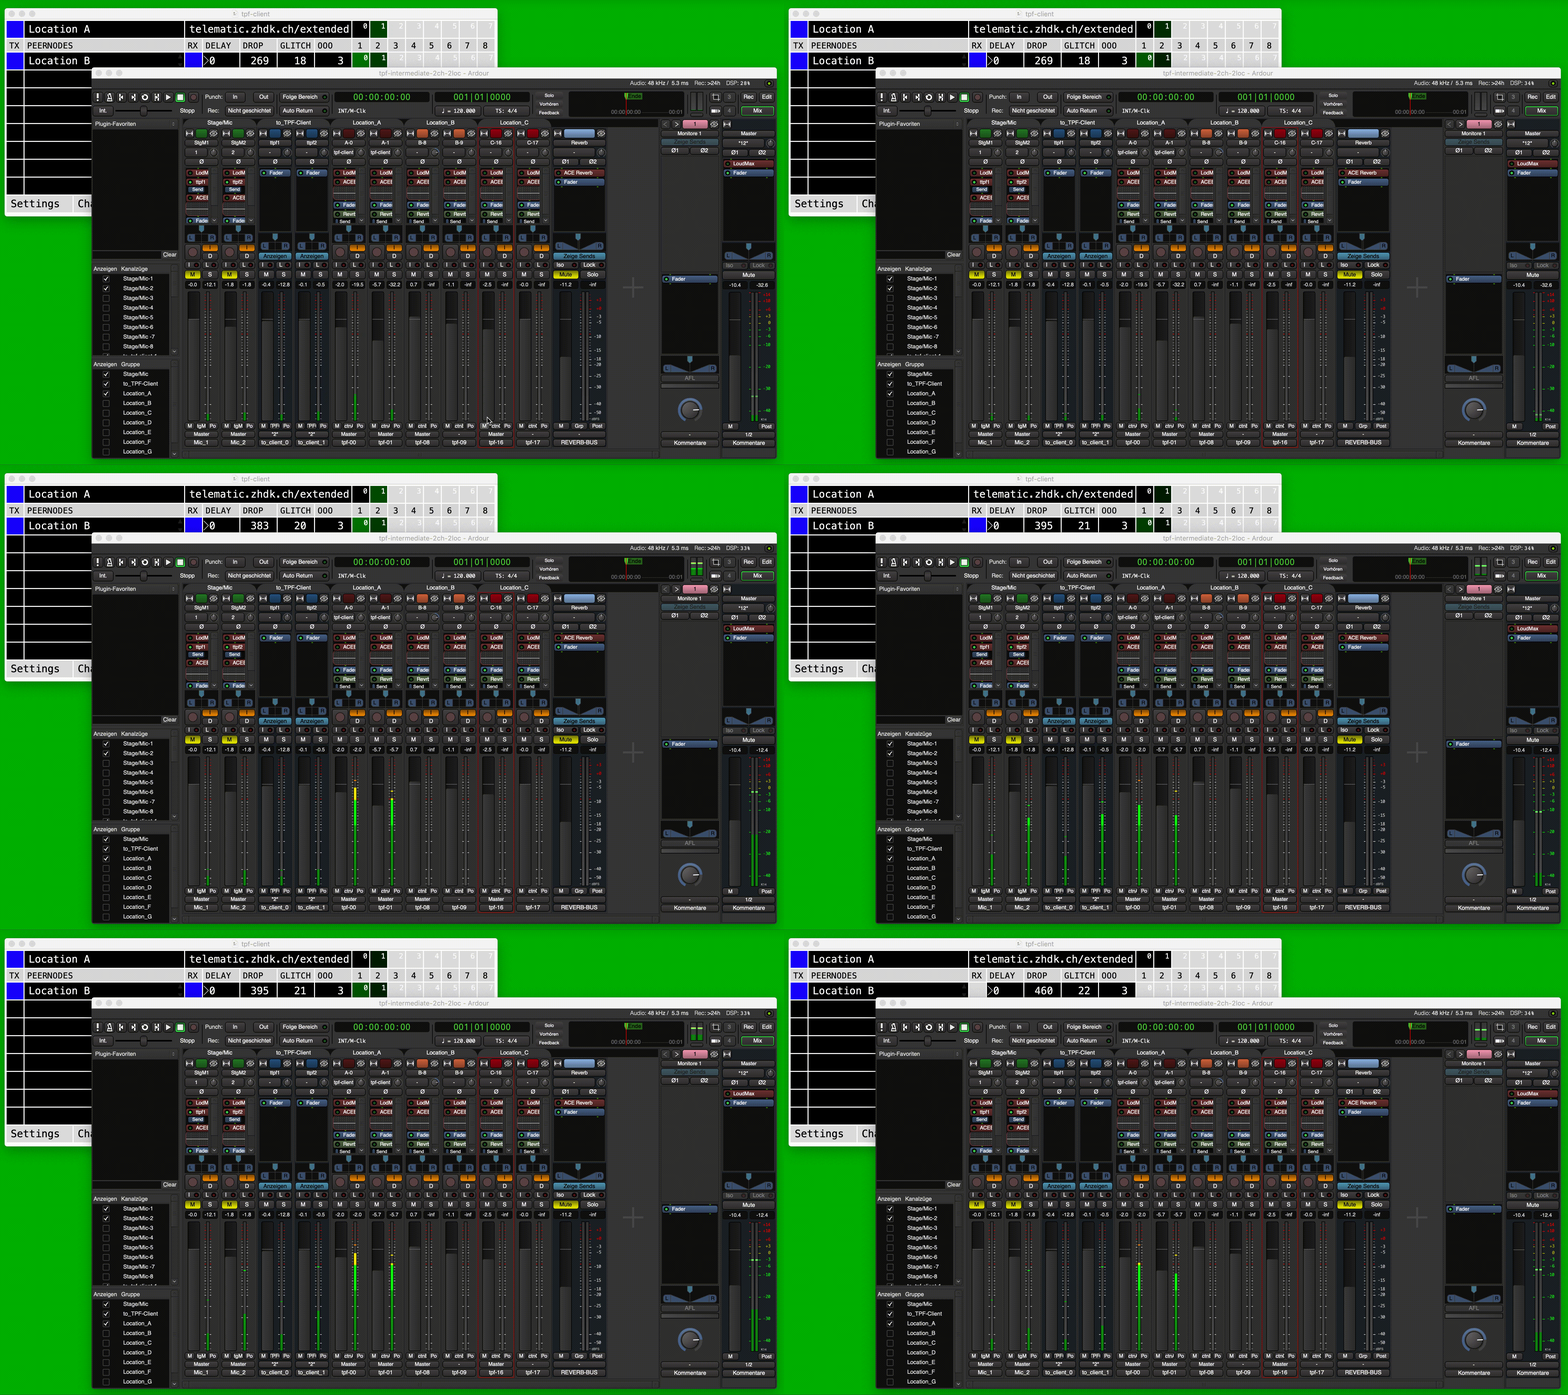
Press ‘Open’. A Mixer window in Ardour opens; in this case (‘tpf-intermediate-2ch-2loc’), it is pre-configured for 2 participating locations with 2 audio channels each:
The configuration of Ardour’s Mixer window is explained in detail in Chapter C3.
If your audio hardware is connected correctly, you will see the incoming signals from your microphone(s) in the mixer strip(s) ‘Stage/Mic’ and ‘to_tpf-client’.
You must now define the connection and the audio settings in the TPF-Client.
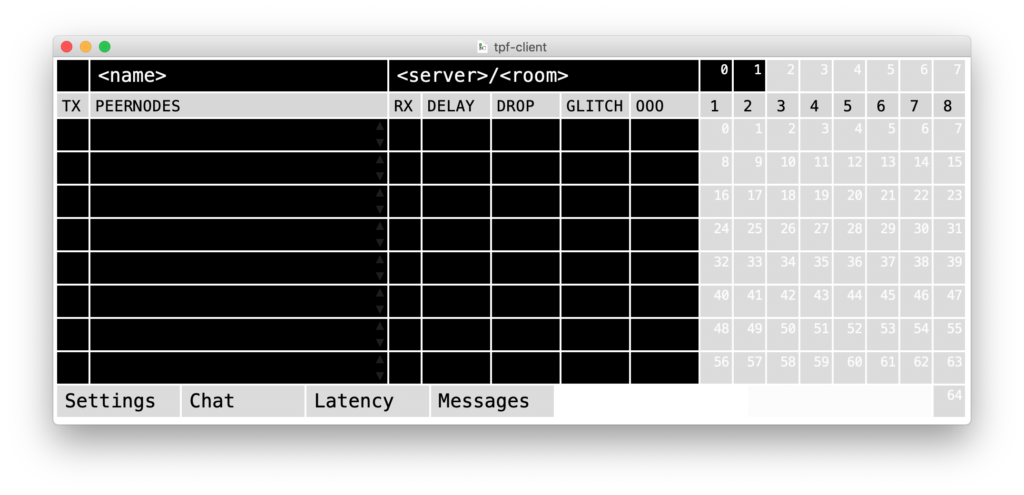
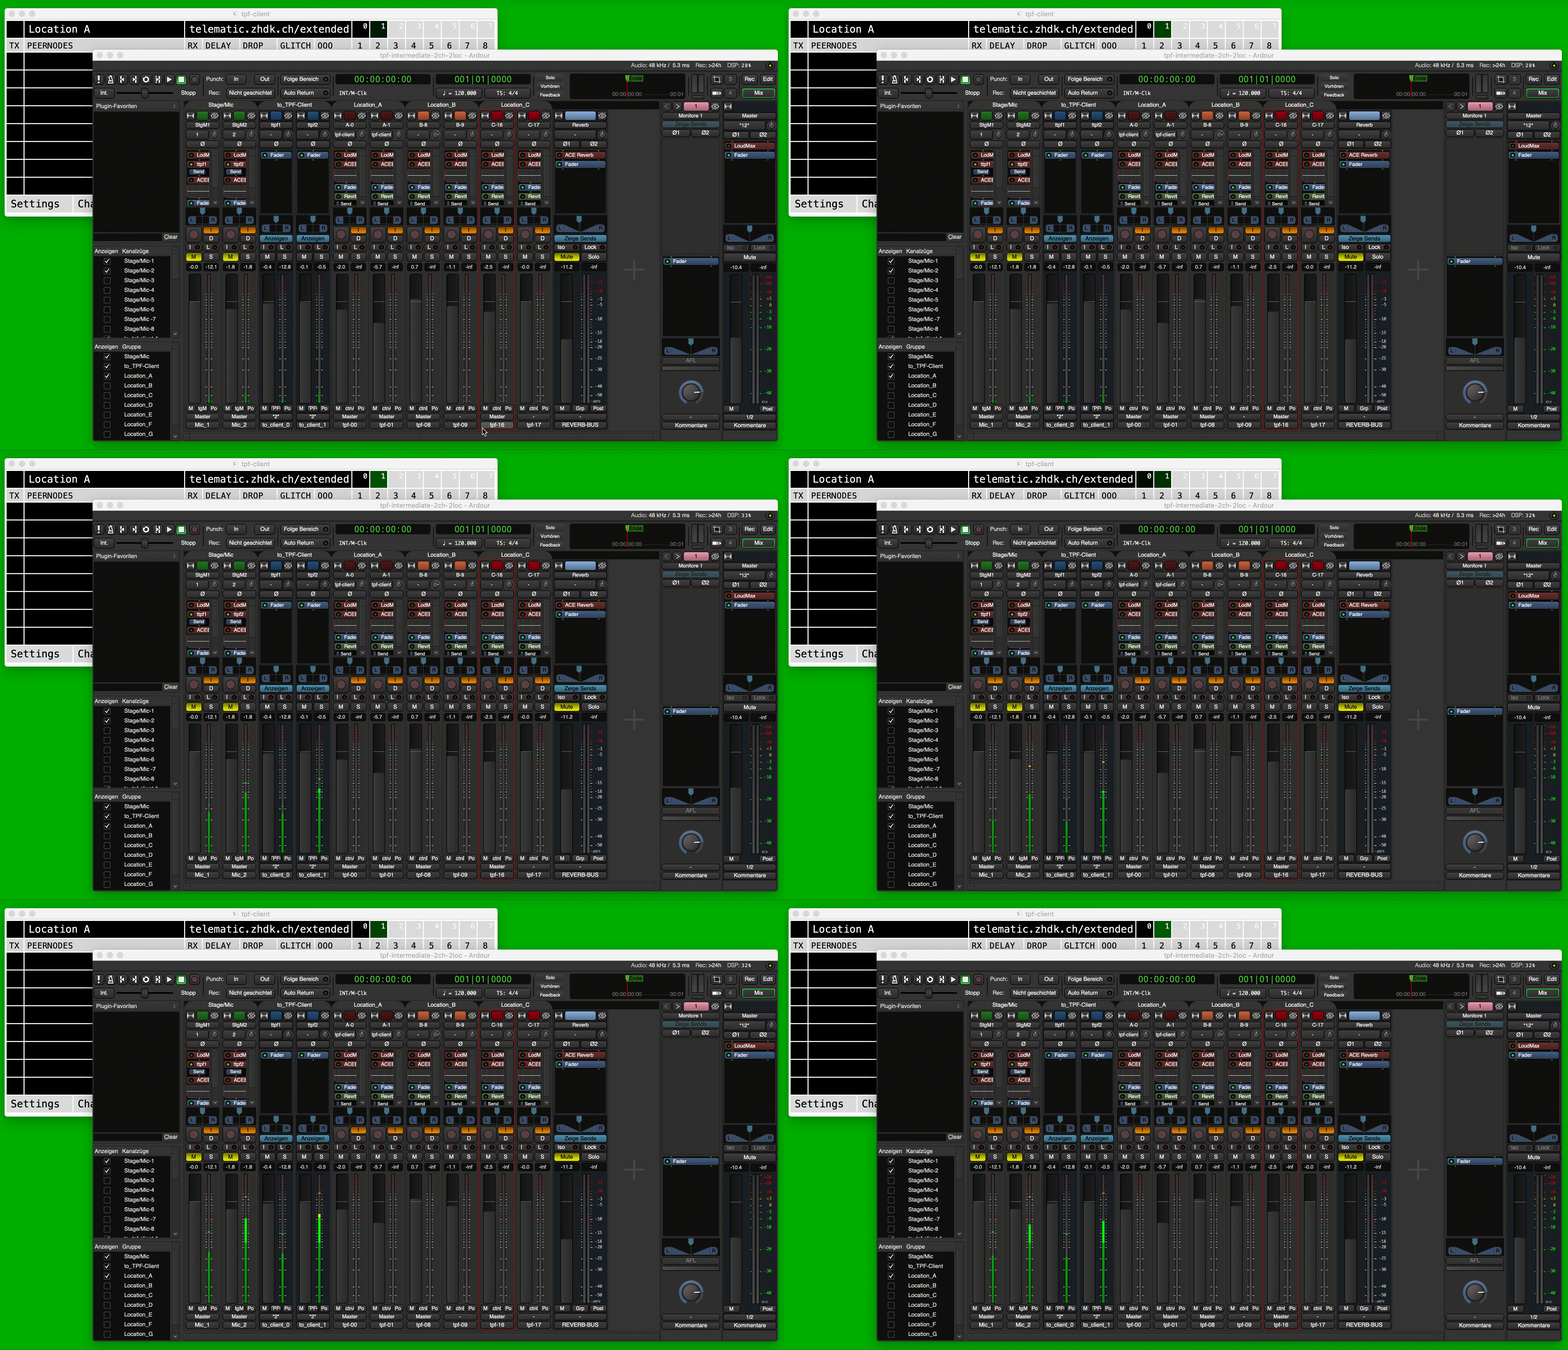
Please ensure that you can see the incoming signal from Ardour / your microphone in the TPF-Client, shown by flickering in green in the upper row:
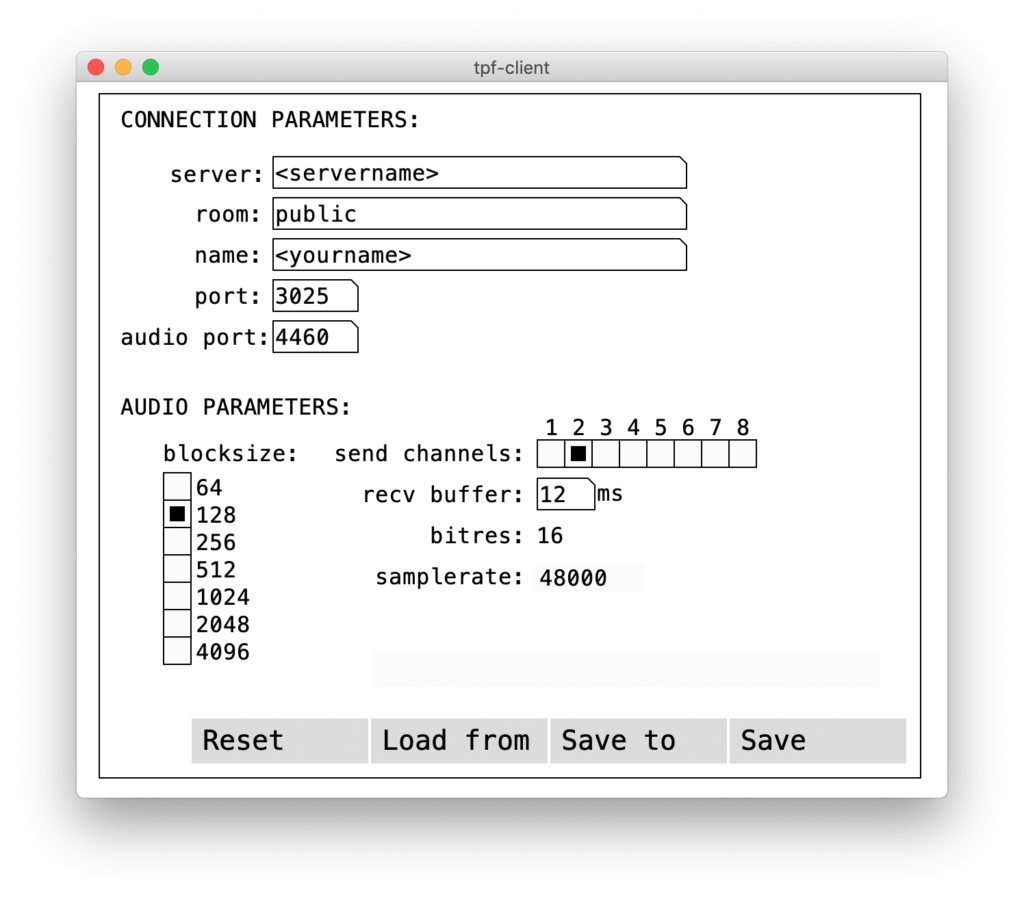
To choose the settings which correspond to your Ardour template click on ‘Load from’ and browse to the folder ‘tpf-settings’; open the corresponding template (in our case ‘tpf-intermediate-2ch-2loc.txt’):
Write the ‘connection parameters’ in the relevant boxes and confirm the entry by pressing the ‘Enter’ key:
server: Write the server name in the server section and press ‘Enter’; the default server, positioned at Zurich University of the Arts, is ‘telematic.zhdk.ch’. Your remote peers have to connect to the same server.
room: Write a self-chosen room name and press ‘Enter’. The peers you want to connect to have to choose the same room name.
name: Write an individual name or your location name and press ‘Enter’. Each peer sets their own name.
The ‘audio parameters’ are given by the templates; their functionalities and their use are described in detail in Chapter C4 Section 1.
Press ‘Save’ to save the parameters; these parameters are restored if you open the ‘Settings’ window next time.
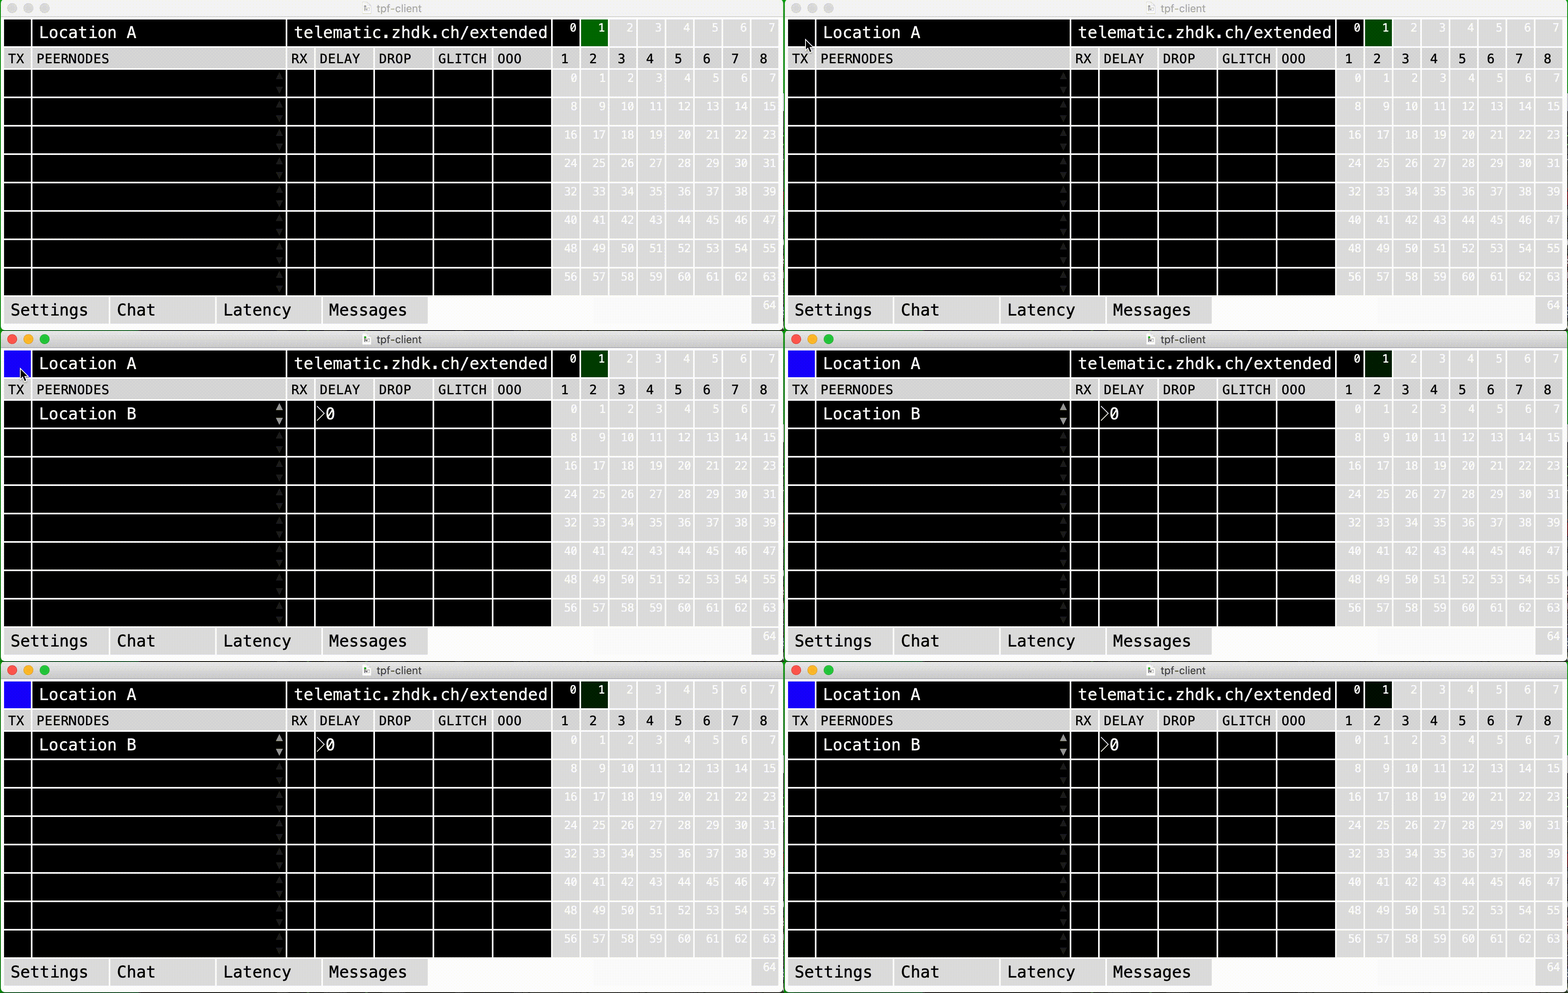
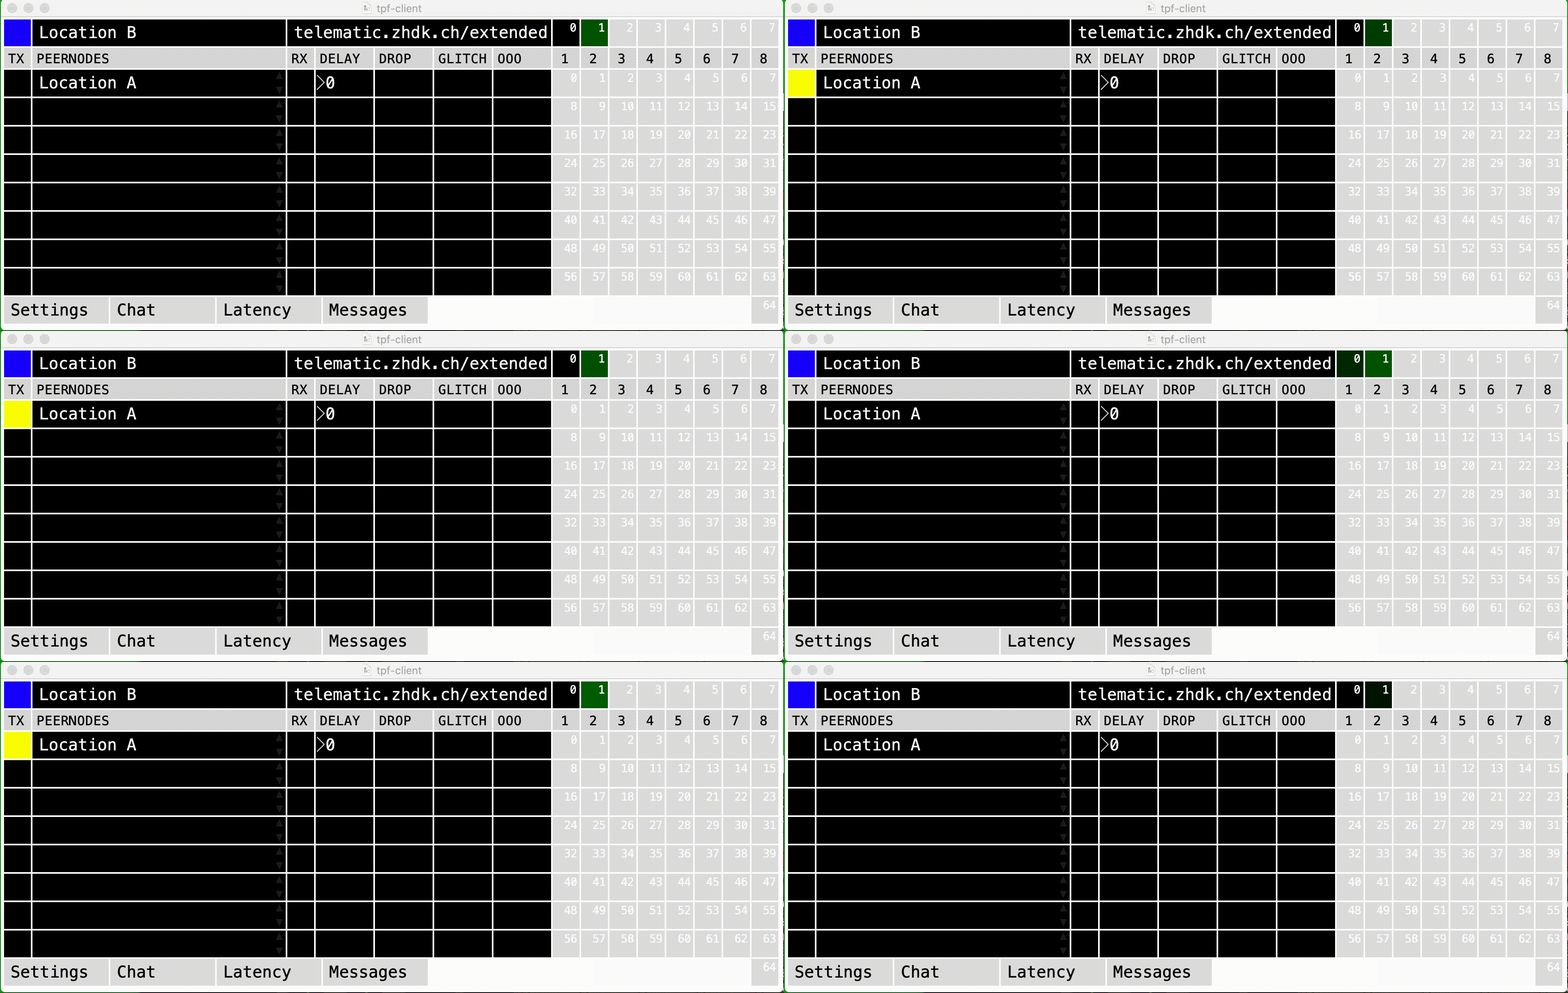
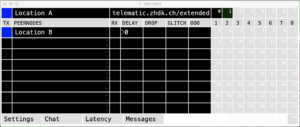
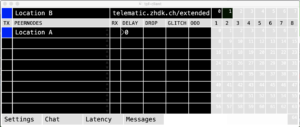
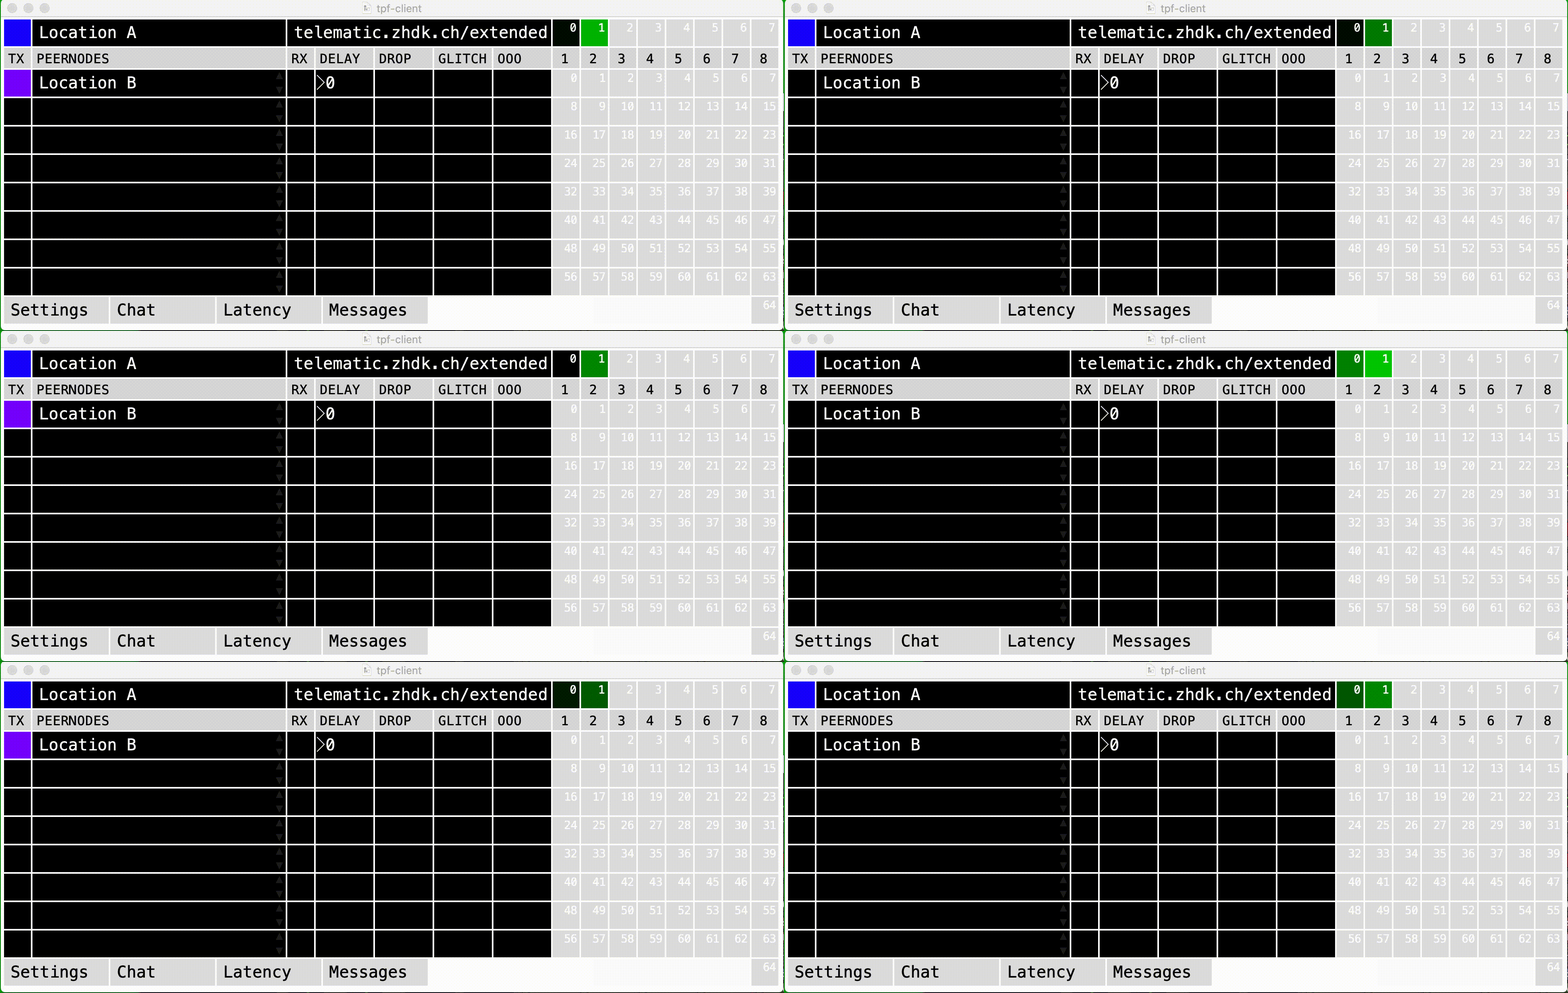
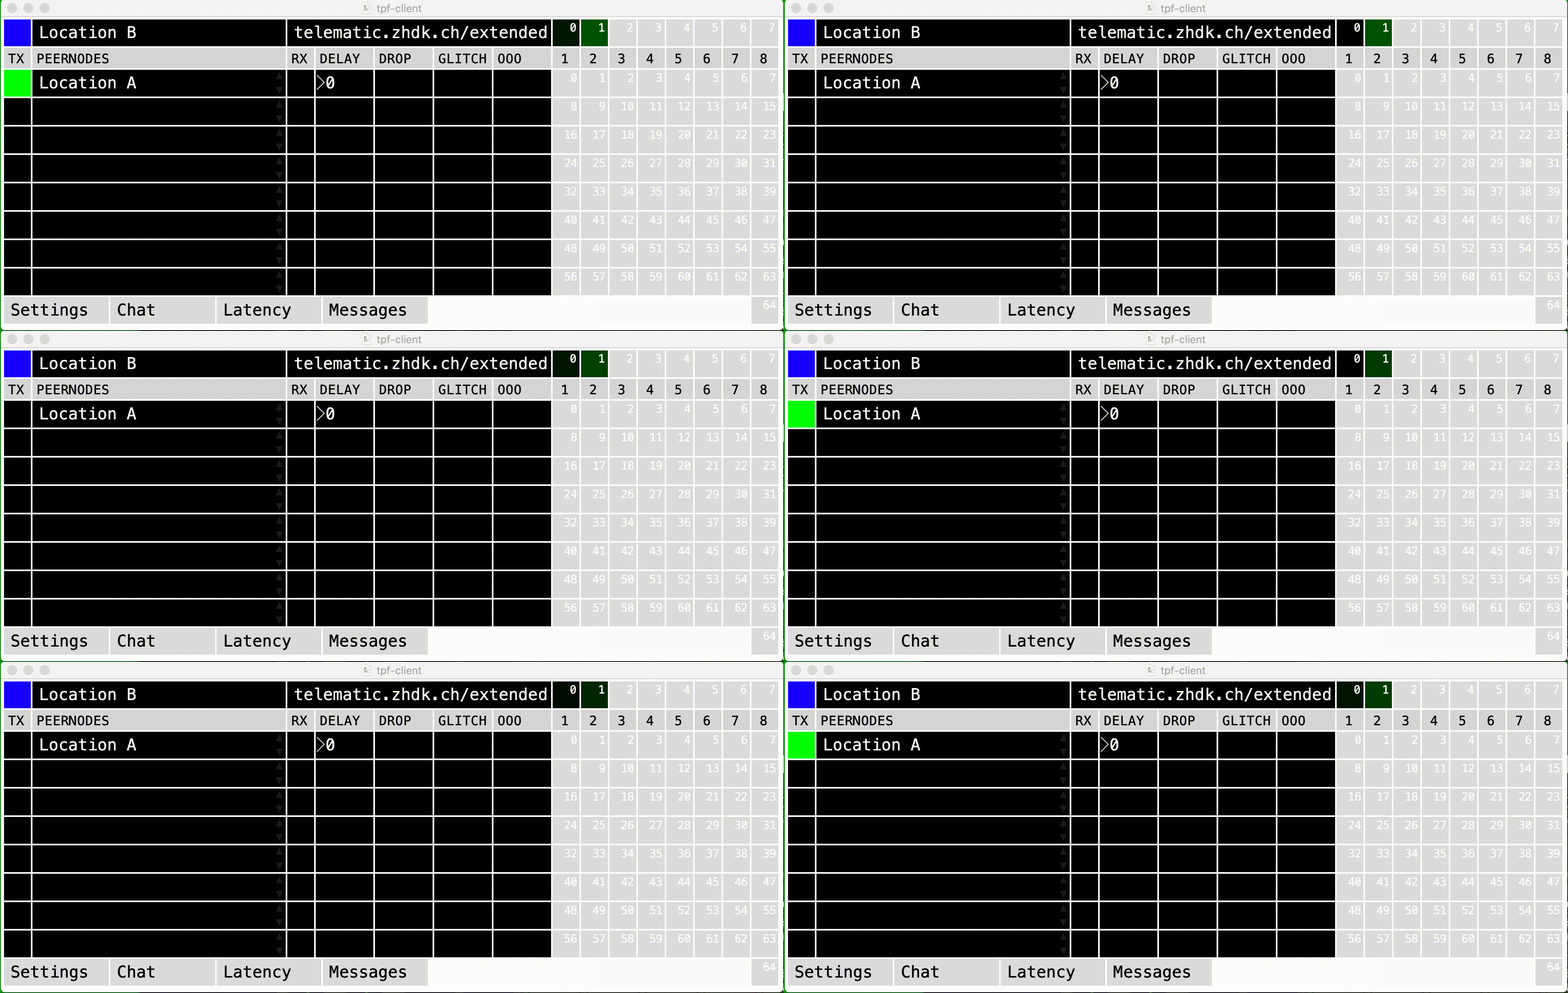
When clicking on the box on the left side of the TPF-Client’s first row, the remote peer(s) connected to the same room (name) and the same server (address) will appear:
To establish a connection, click on the box at the left side of the peer node. This calls the other location where the box starts to blink in yellow.
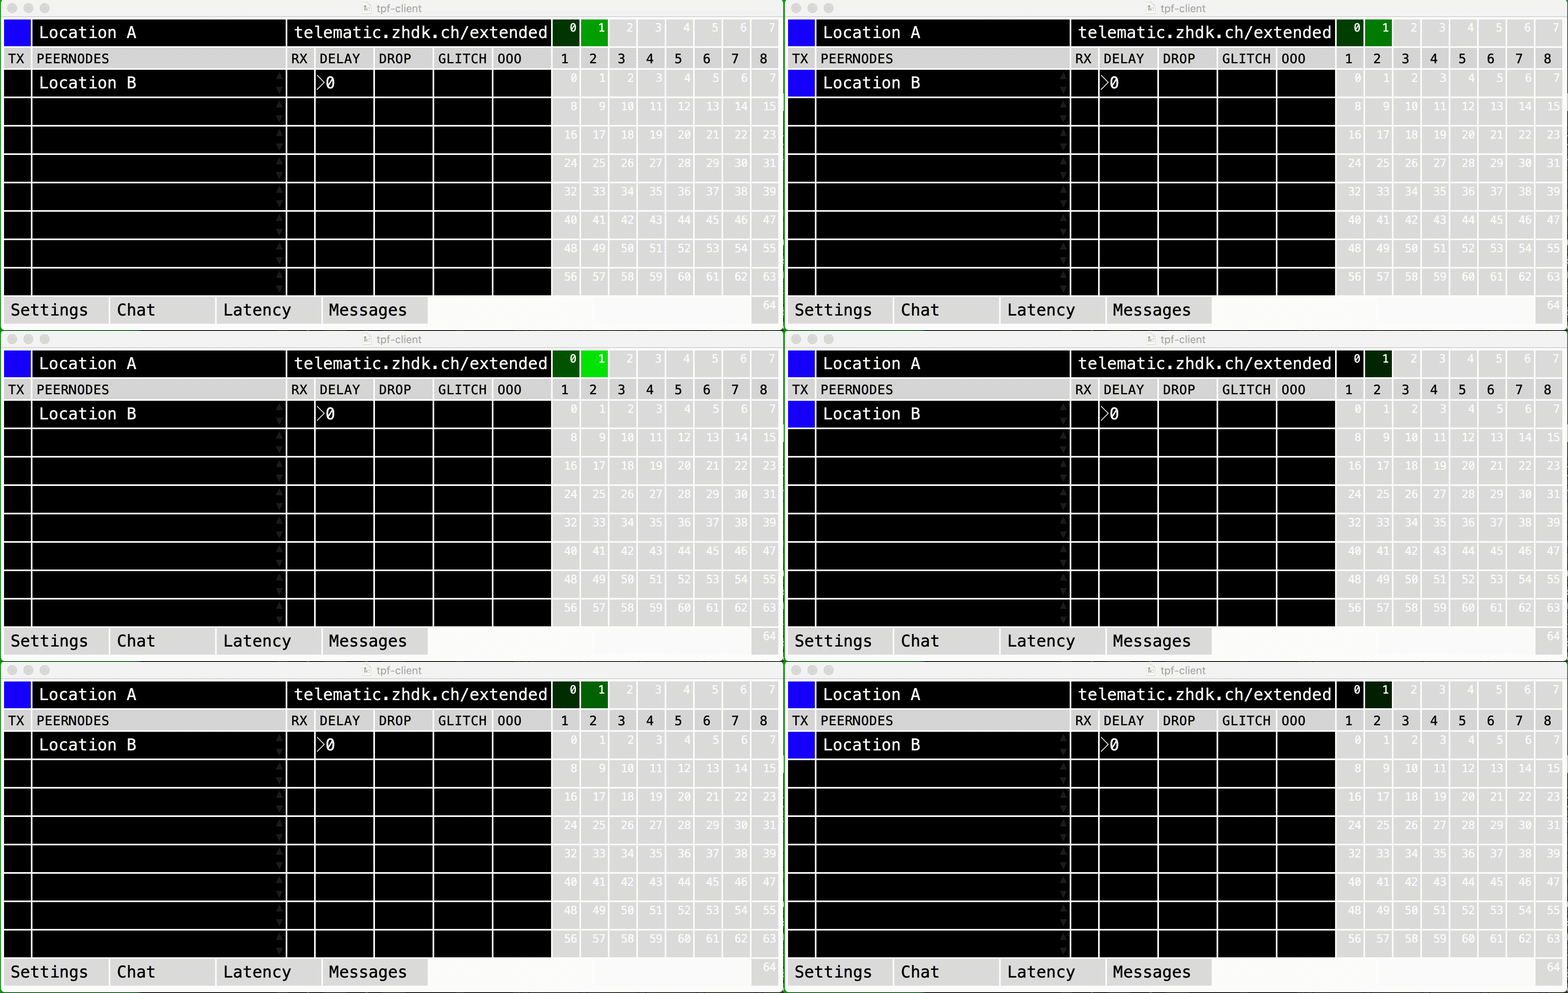
As soon as the remote location clicks the yellow blinking box, the connection is established and it will turn blue.
You are now connected to the remote location(s) and the bidirectional flow of the audio signals is established.
You should see the incoming signals from your remote peer(s) in Ardour’s channel strips.
Unmute the Master strip and you will hear the remote location through your headphones or loudspeakers.
For a detailed explanation of the TPF-Client, its further functionalities or the possibility of a peer-to-peer connection, see Chapter C4.
3.2.2. Starting the audio-connection directly (without using the TPF-Audio-Runner)
As an experienced user, you may wish to start the TPF-Tools without using the TPF-Audio-Runner.
In this case, it is crucial that you open the different components in the following order. Otherwise the DAW Ardour and the TPF-Client will not be able to communicate with each other:
a. open and start Ardour with the template ‘tpf-start.ardour’ which you find in the folder ‘ardour-templates’:
b. open the ‘tpf-client’ from the folder ‘tpf-tools intermediate’ and select the connection and audio parameters. The functionalities of the TPF-Client are explained in Chapter C4.
c. select an existing Ardour session by pressing ‘command’ & ‘o’ or by selecting ‘Open…’ in Ardour’s ‘Session’ menu; or create a new Ardour session by pressing ‘command’ & ‘n’ or by selecting ‘New…’ in Ardour’s ‘Session’ menu. The use of Ardour is explained in Chapter C3.
3.2.3. Starting the video-connection with the TPF-Video-Runner
Due to the modular system of TPF-Tools, video streaming can be aligned in different ways to the audio layer, e.g. by using only the video part of videoconferencing programmes like Zoom or Livelab:
In our practice, we work with Ultragrid, a video-streaming tool which provides both high video quality and low latency. Because of the higher video quality, it consumes more bandwidth than conventional videoconferencing tools.
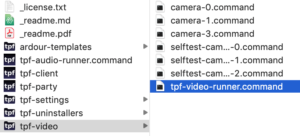
TPF-Tools includes Ultragrid and some scripts that facilitate its use. The script ‘tpf-video-runner.command’ which is located in the ‘tpf-video’ folder, allows you to make video connections with the built-in-video camera of your computer as well as with external webcams. The use of external cameras other than webcams will need specific technical requirements; some of these are explained in Chapter E, Section 2.
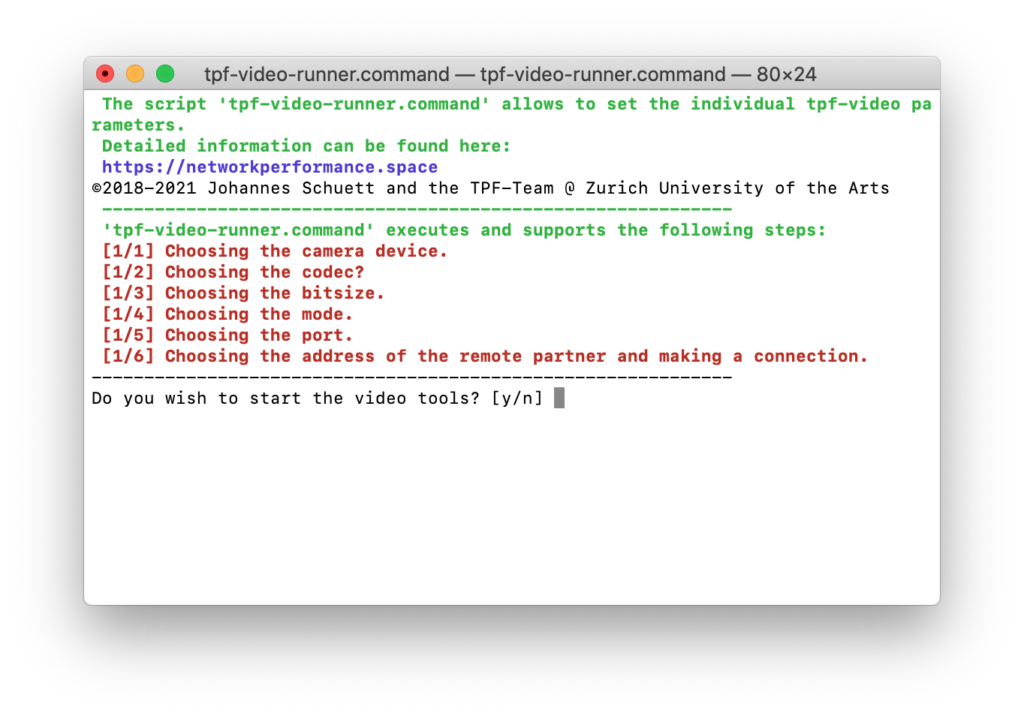
To start a video connection to your remote partner through TPF-Tools, double click ‘tpf-video-runner.command’ in the ‘tpf-tools-intermediate’ folder to kick off the process. Note that you have to run a separate command for each video connection on both sides (be it if you use multiple cameras and/or multiple locations).
By confirming with ‘y’ (for ‘yes’) you start the process. The instructions in the Terminal window should be self-explanatory and will guide you through the process of establishing a video-connection with your remote location(s).
For more information about these parameters, consult Chapter E.

