3.4.1. Parameters before establishing a connection
3.4.2. Establish a connection to the other location(s) through the proxy server
3.4.3. Establish a connection to the other location(s) peer to peer
3.4.4. Closing the connection
3.4.5. Additional features
This chapter describes the use and the functionalities of the TPF-Client.
3.4.1. Parameters before establishing a connection
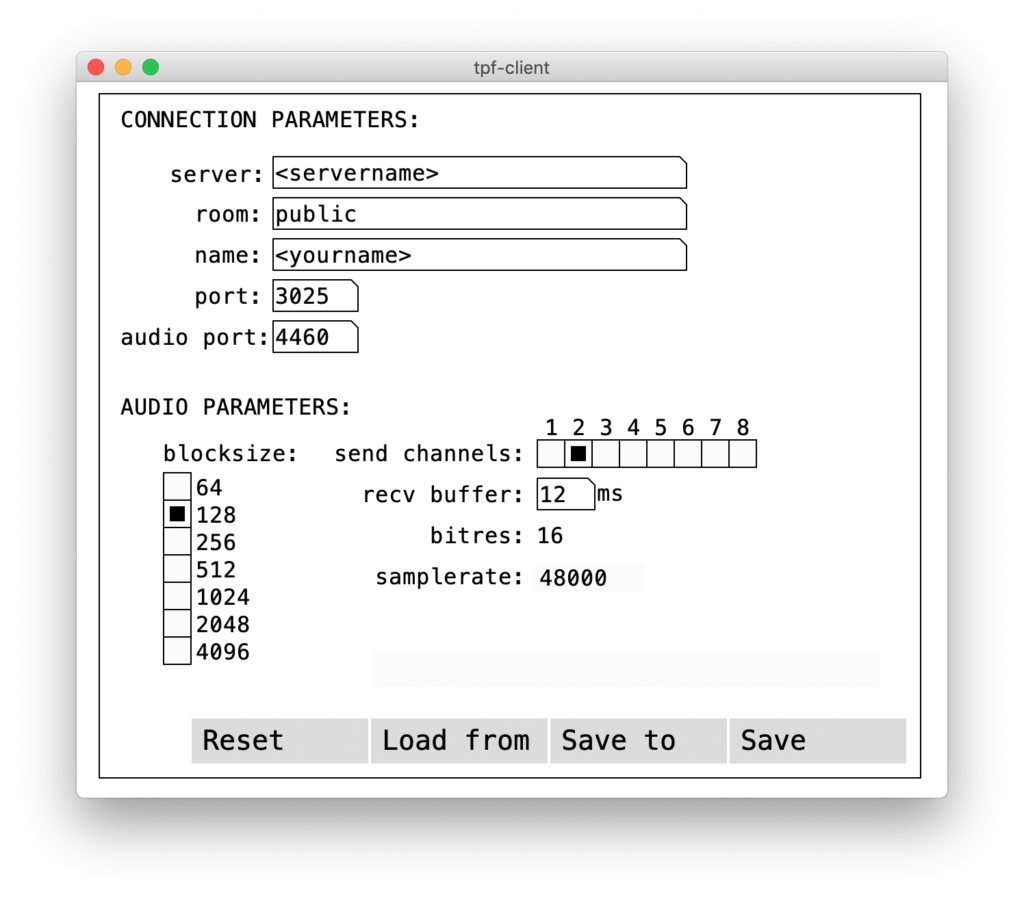
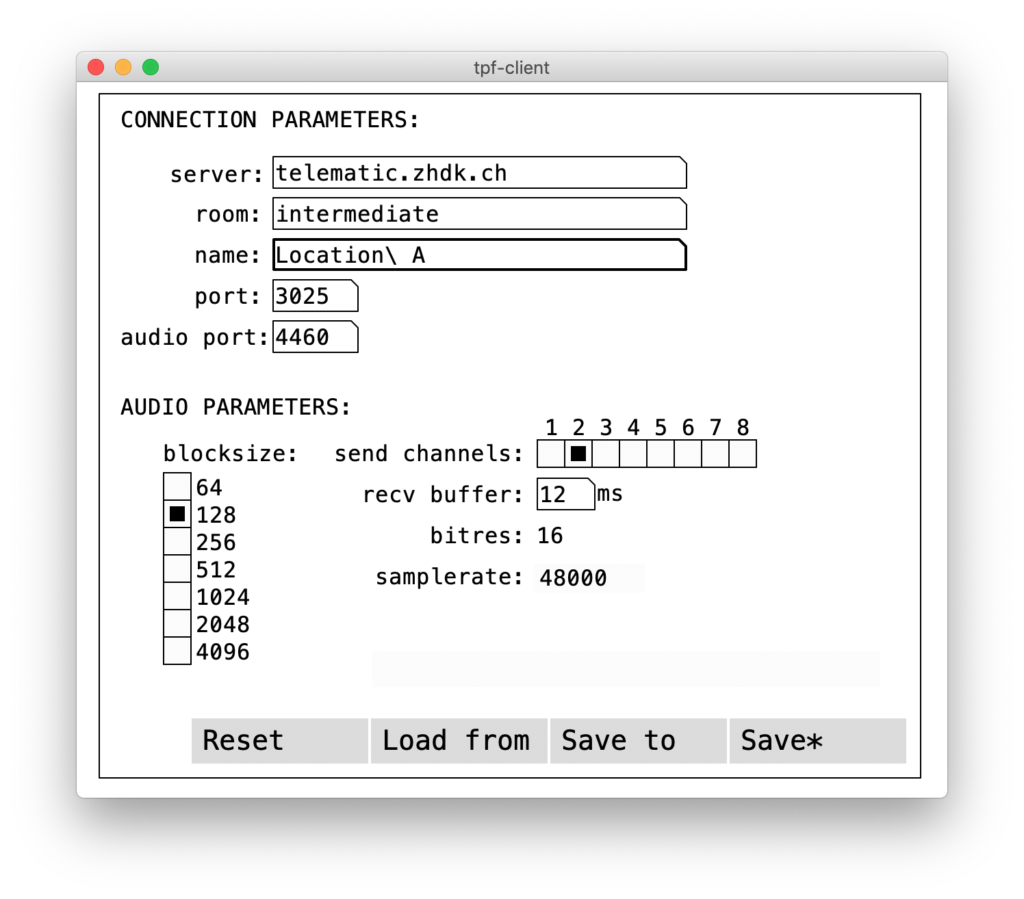
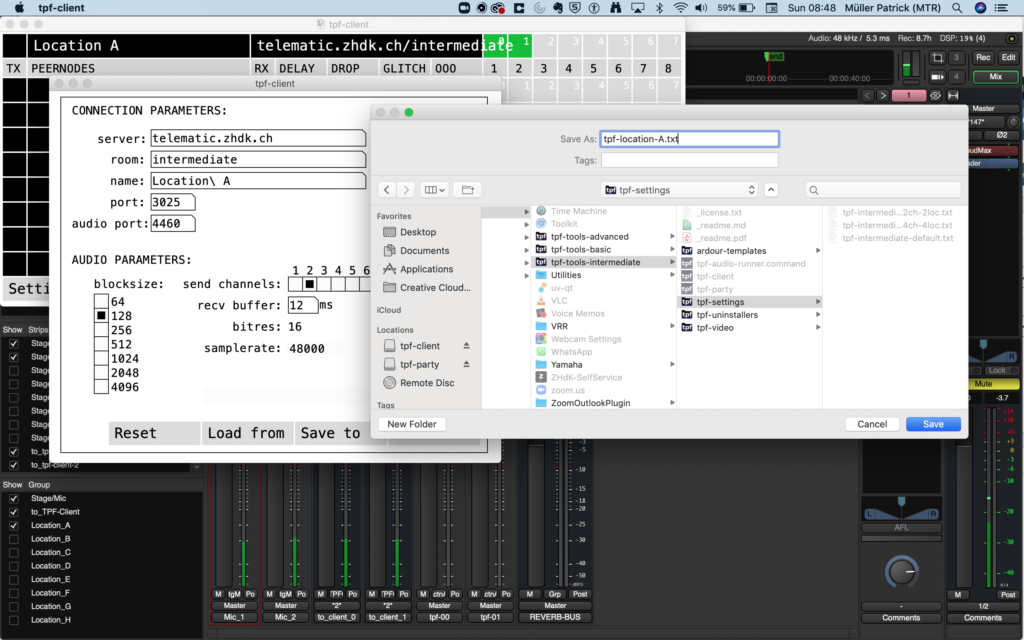
Enter the Connection Parameters:
Server: Write the server name in the host section and press enter; the server name of the default server, positioned at Zurich University of the Arts, is ‘telematic.zhdk.ch’. Your remote peers have to connect to the same server.
Room: Write a self-chosen room name and press ‘Enter’; the peers you want to connect to have to choose the same room name.
Name: Write your individual name or your location name and press ‘Enter’. Each peer chooses their own name.
port and audio port are the ports used by the tpf-server. Those are standard values. Do not change these unless you run your own tpf-server on different ports.
Enter the Audio Parameters:
Block size: Select the block size. This defines the size of the sent audio packages. You can choose a block size of between 64 and 4096 samples. While a larger block size may make your connection more stable, it adds latency and sometimes even decreases transmission quality. We usually work with a block size of 128 or 64 samples. Each peer can use their own block size.
Send channels: choose the number of channels you want to use by clicking on the respective box; the number of channels should correspond to your chosen Ardour template.
Rec. buffer: Choose the receive buffer by writing a number in milliseconds. This defines the buffer queuing and helps circumvent jitter in the audio connection from the remote peer(s). If you hear drops in the incoming audio signal, you can increase the receive buffer. Nevertheless, a higher receive buffer also leads to higher latency. Each peer can choose an own receive buffer; nevertheless, as it is applied to all incoming streams, the receive buffer cannot be set per individual stream.
Bit-res: The resolution is preset to 16 bit and can not be changed.
Sample rate: The sample rate is automatically set according to the Audio-MIDI settings in Ardour. All peers need to use the same sample rate, otherwise the connection cannot be established.
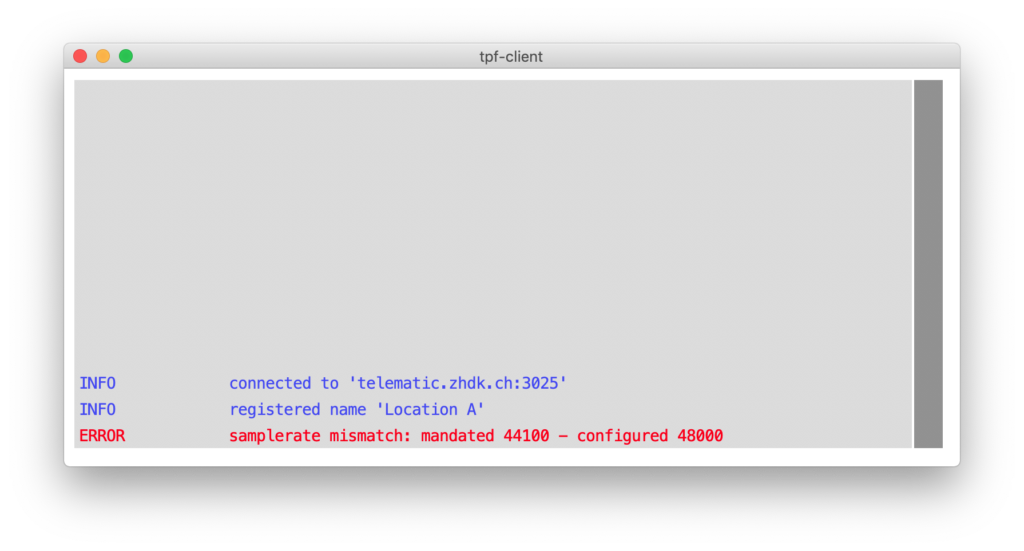
Make sure that Jack runs at the selected sample rate before starting tpf-client (and other Jack applications like Ardour). The tpf-client reports an error if the current sample rate does not match the one configured for the room. We usually use a sample rate of 48 kHz (sample rate standard for video).
When pressing ‘Save’, the same connection and audio parameters will be loaded when you next open the TPF-Client.
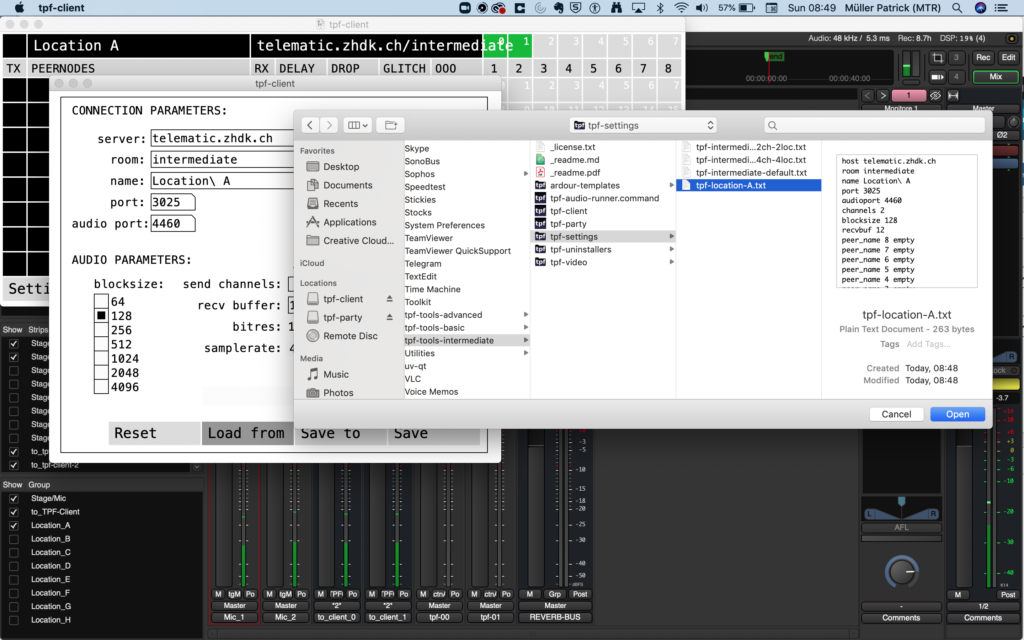
When pressing ‘Save to’, you can save your settings in the folder ‘tpf-settings’ in the Application’s tpf-intermediate-tools folder.
3.4.2. Establish a connection to the other location(s) through the proxy server
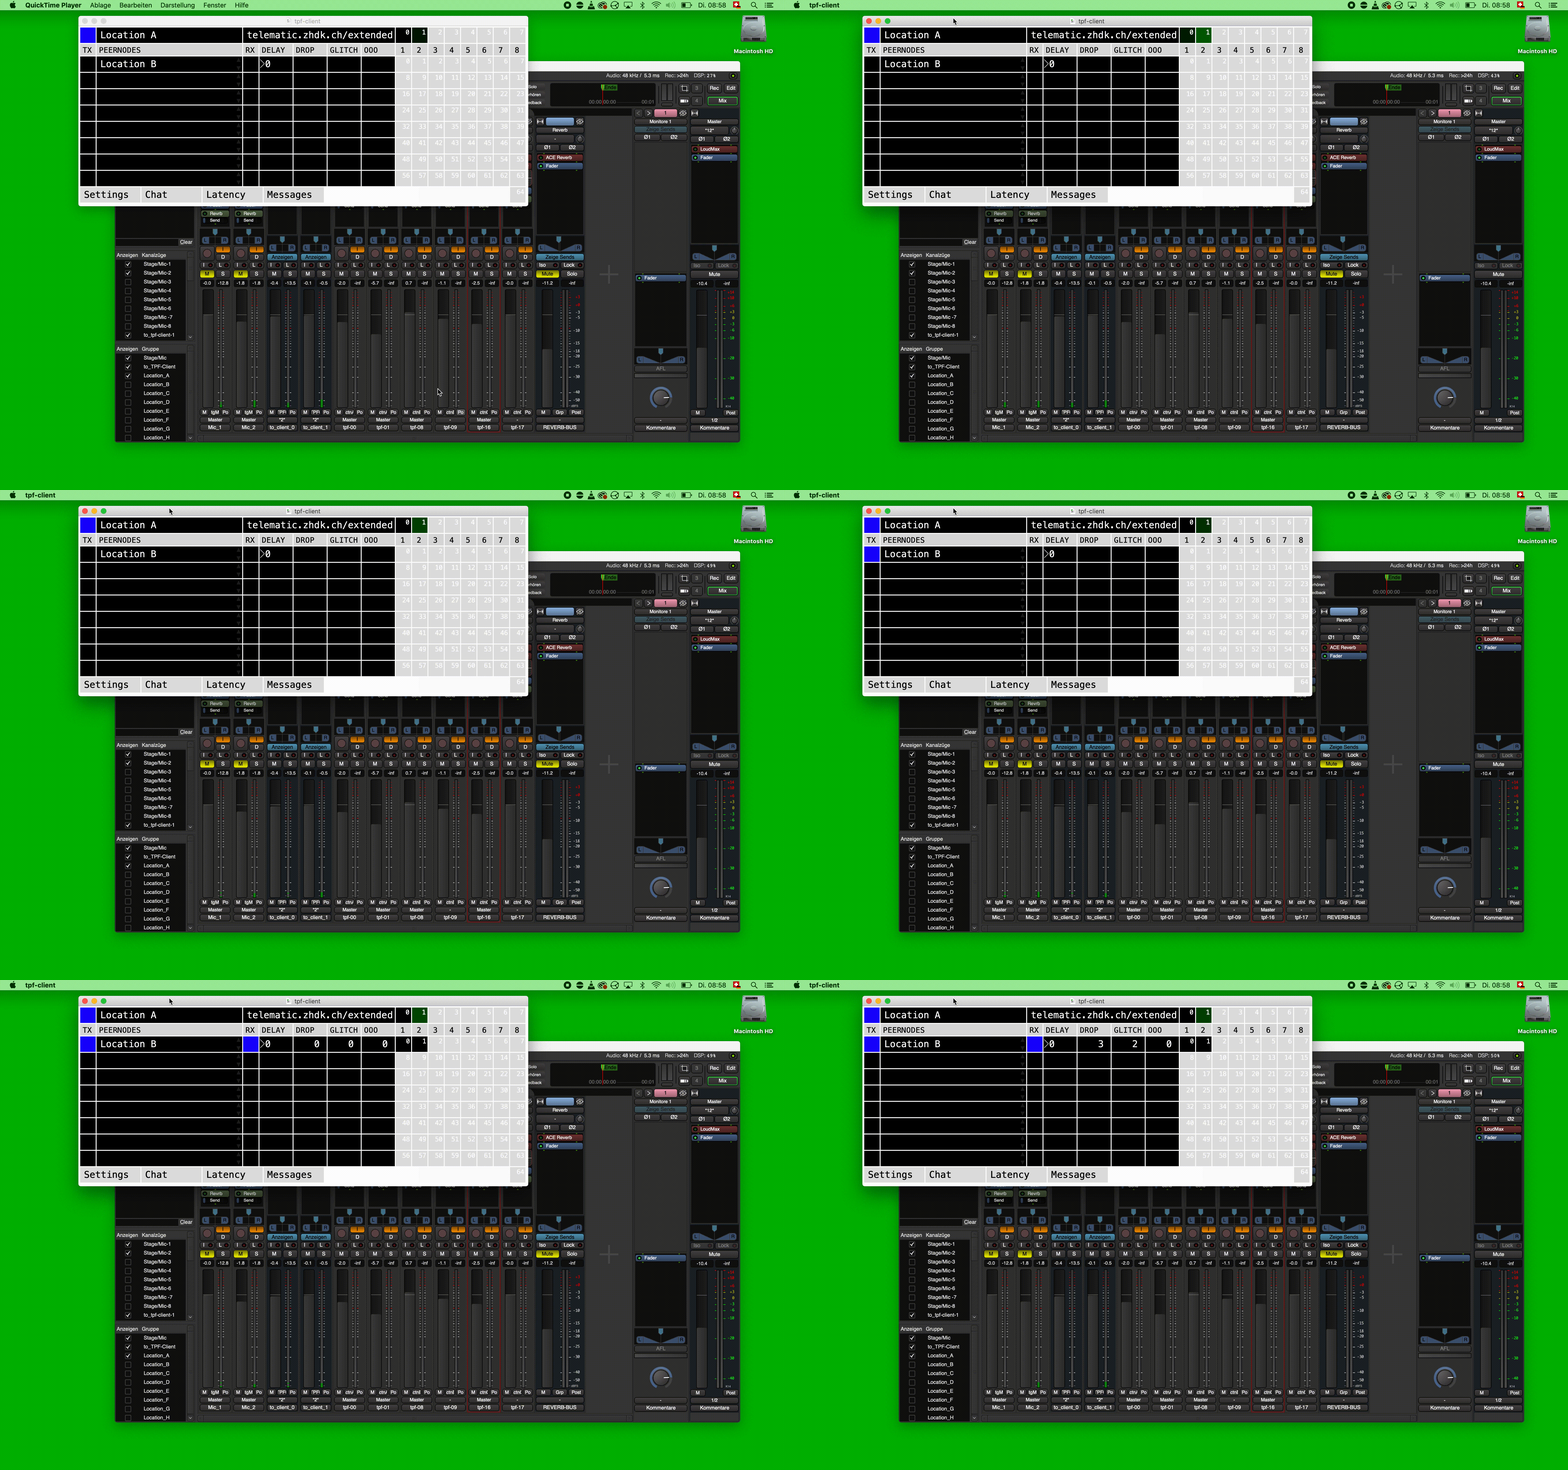
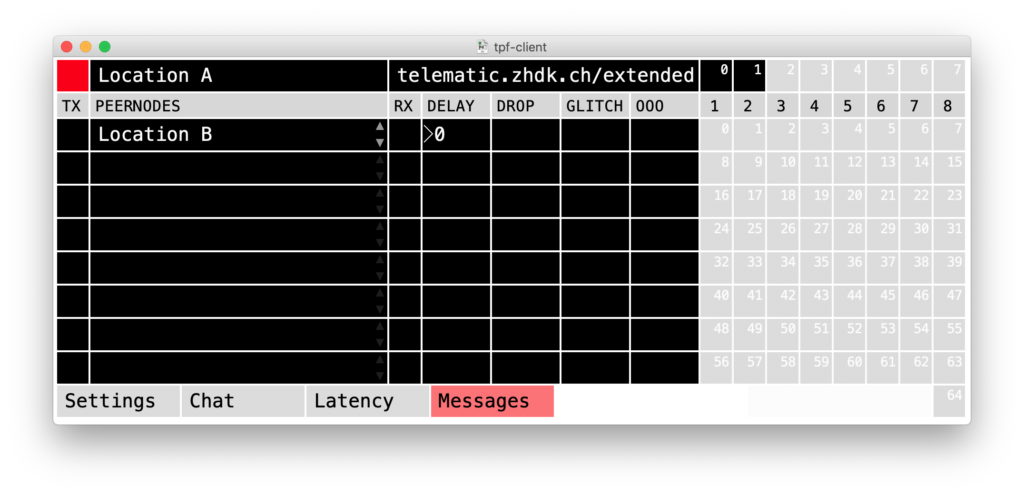
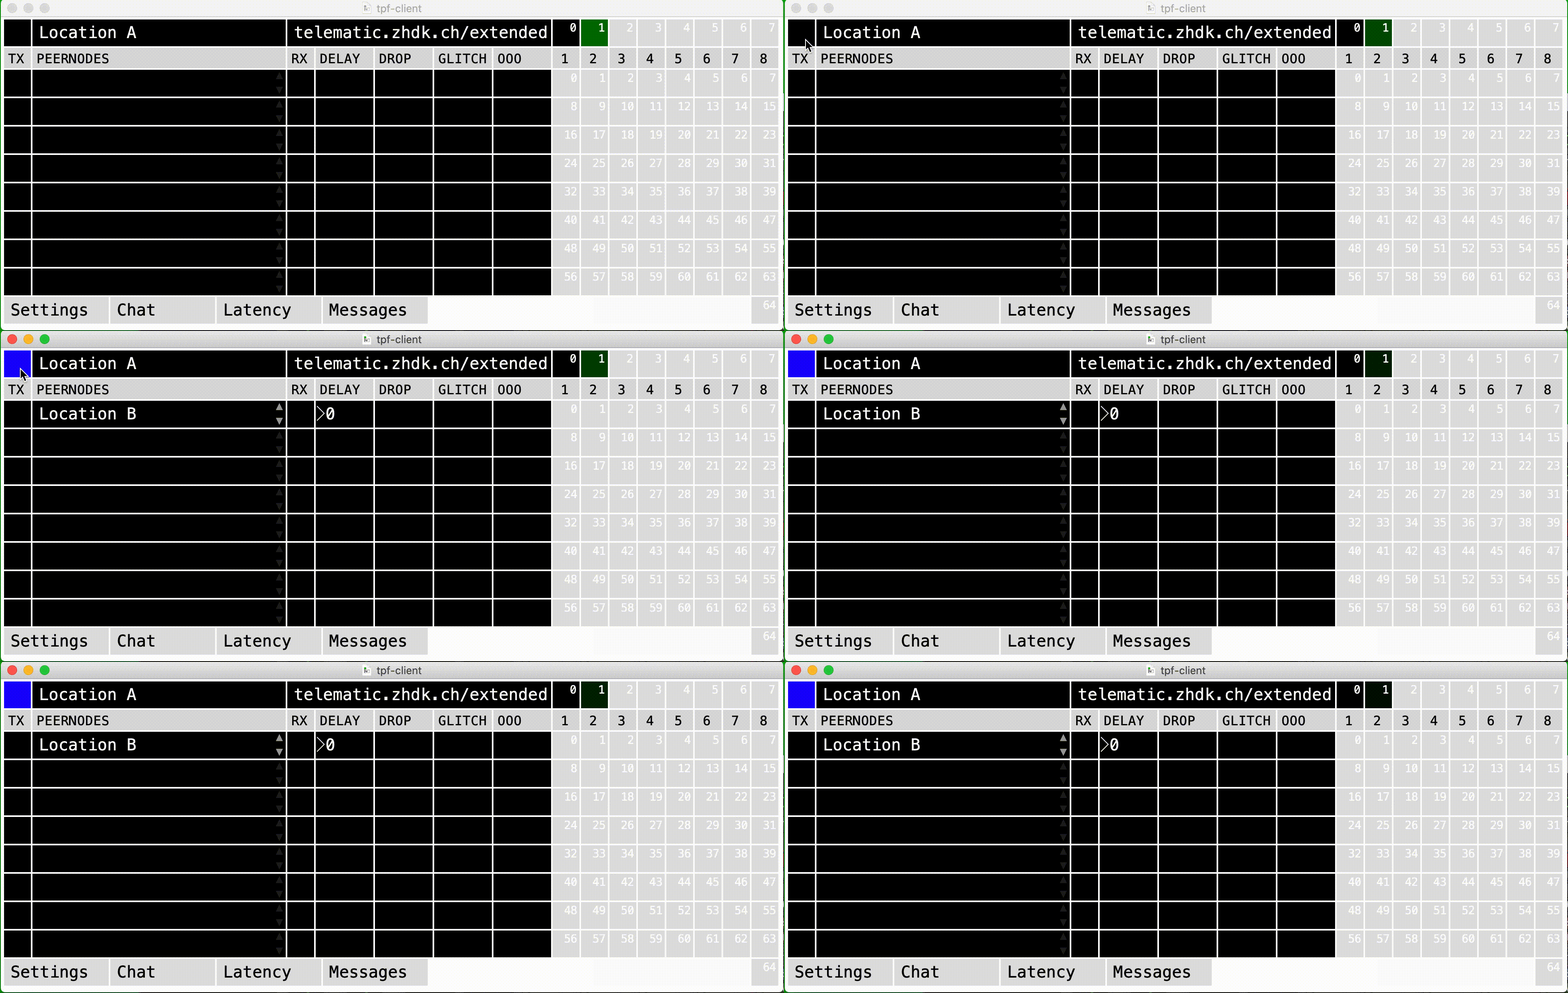
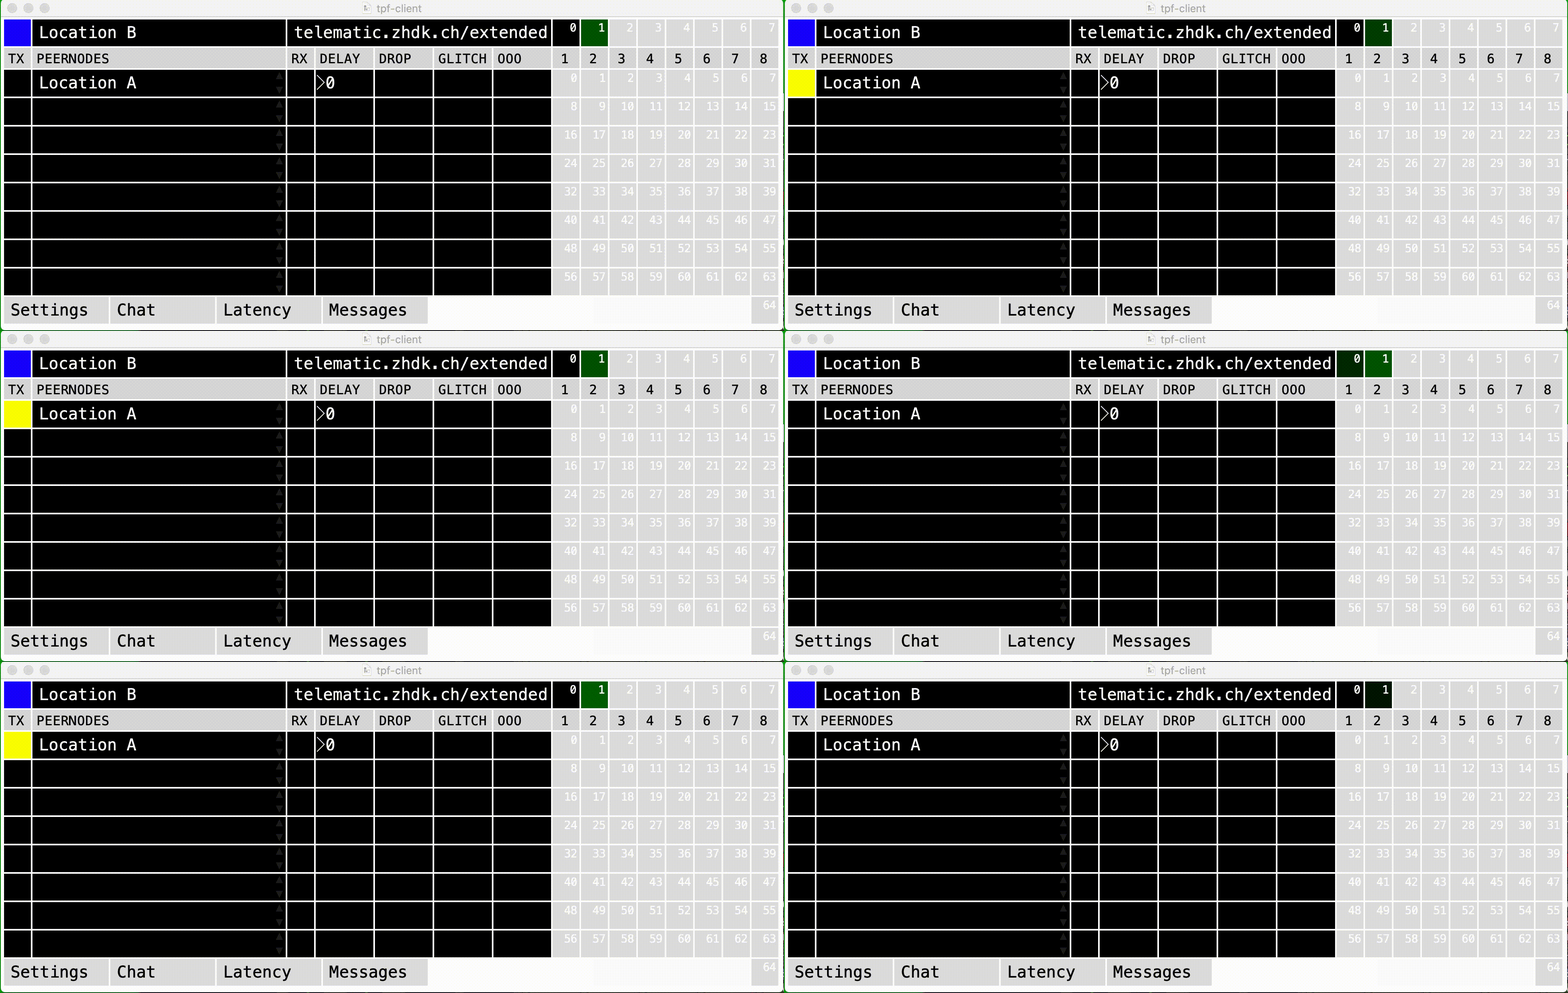
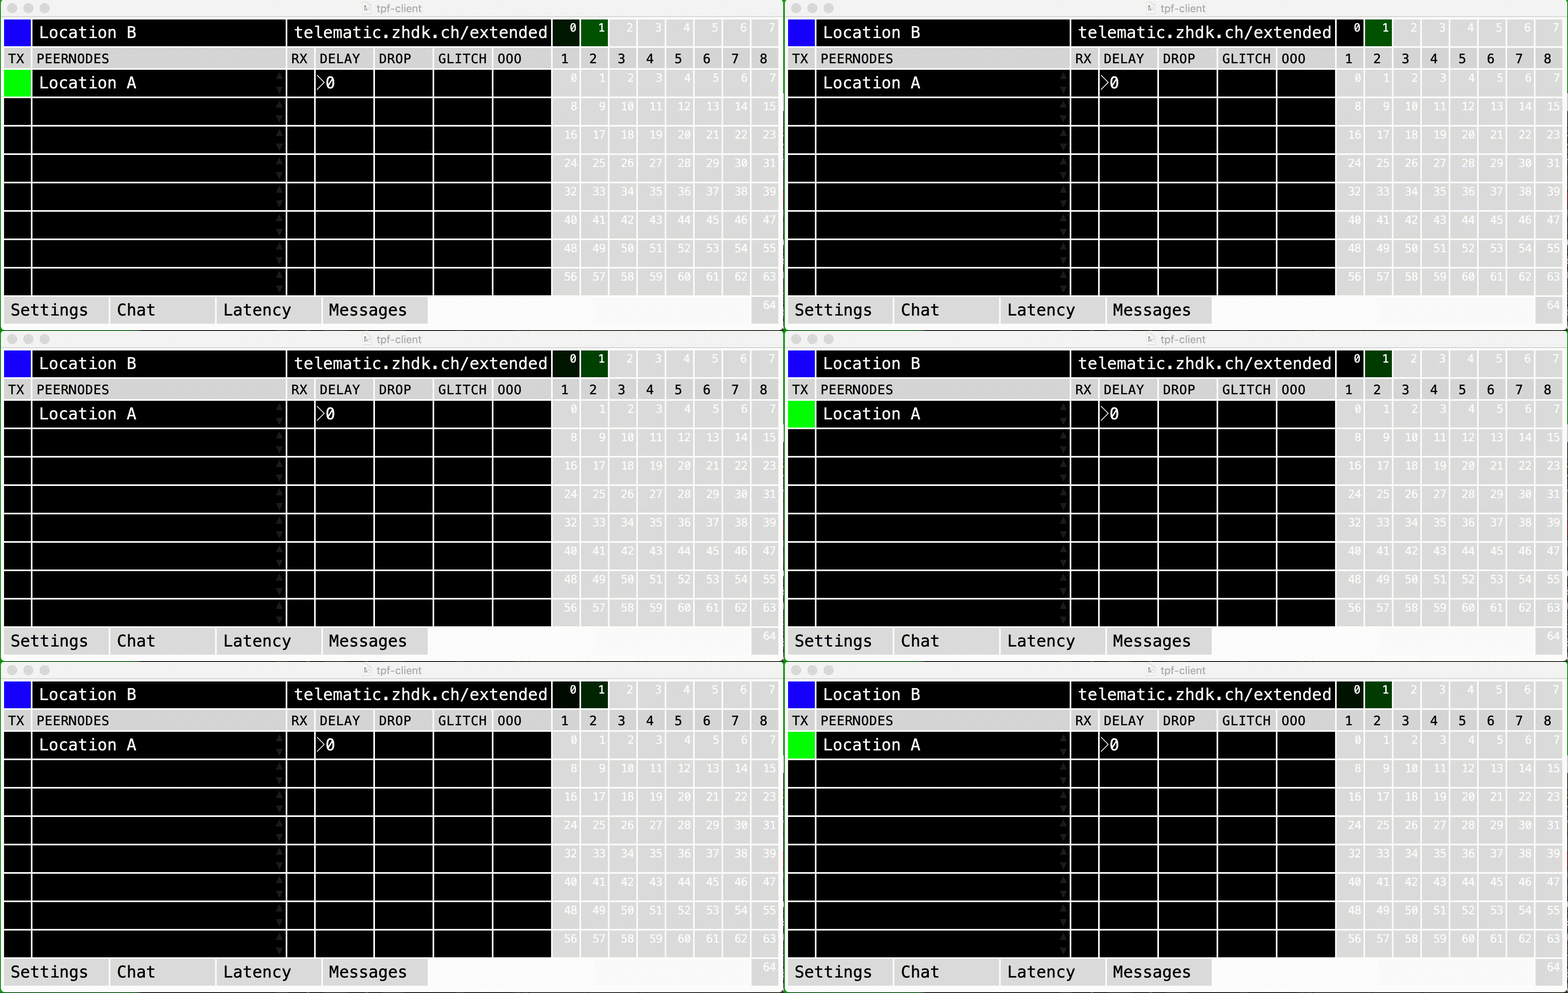
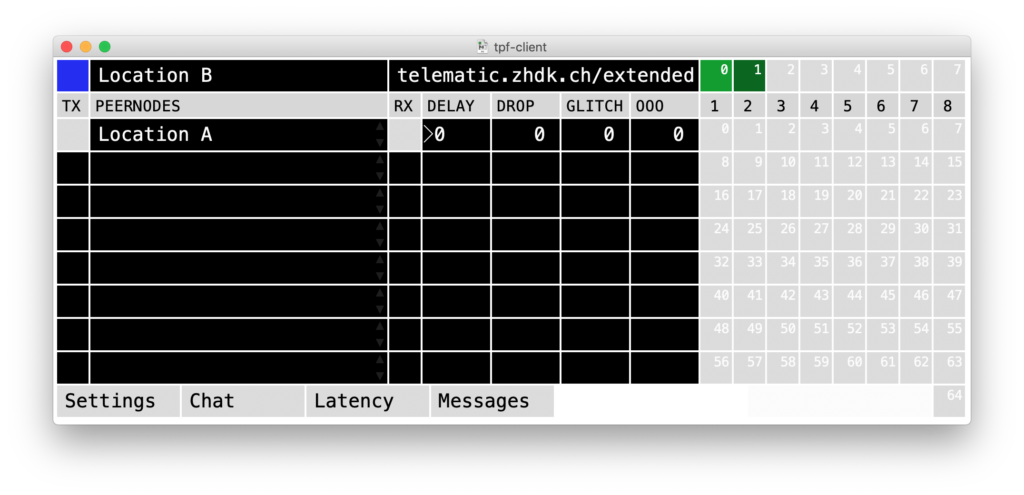
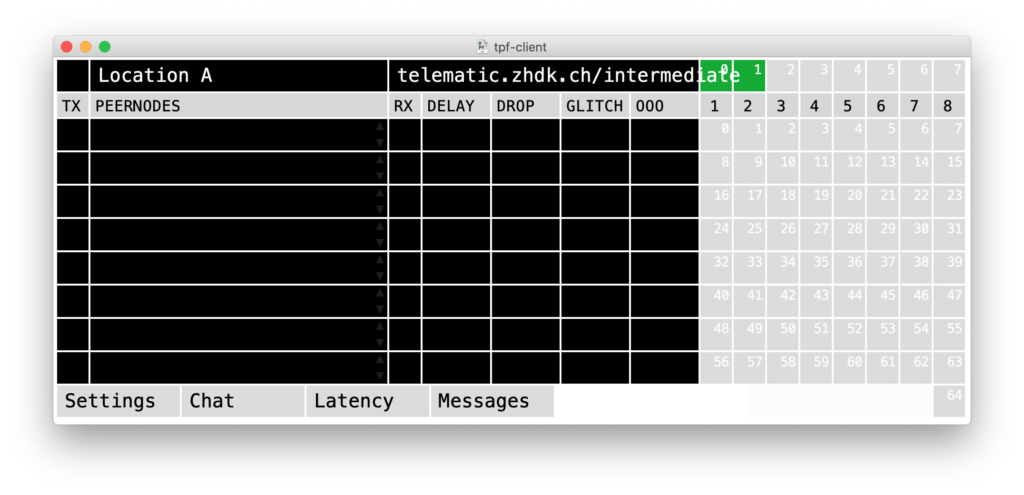
First, establish a connection to the server by clicking on the upper left black field. The button turns blue when the connection to the server is successfully established. In the ‘Peernodes’ section, you now should see other peers connected to the same room on the same server, indicated by their location name.
To establish a connection, click on the box on the left side of the peer node. This calls the other location and is indicated with a yellow blinking box.
As soon as the remote location clicks the yellow blinking box, it will turn blue and the connection is established.
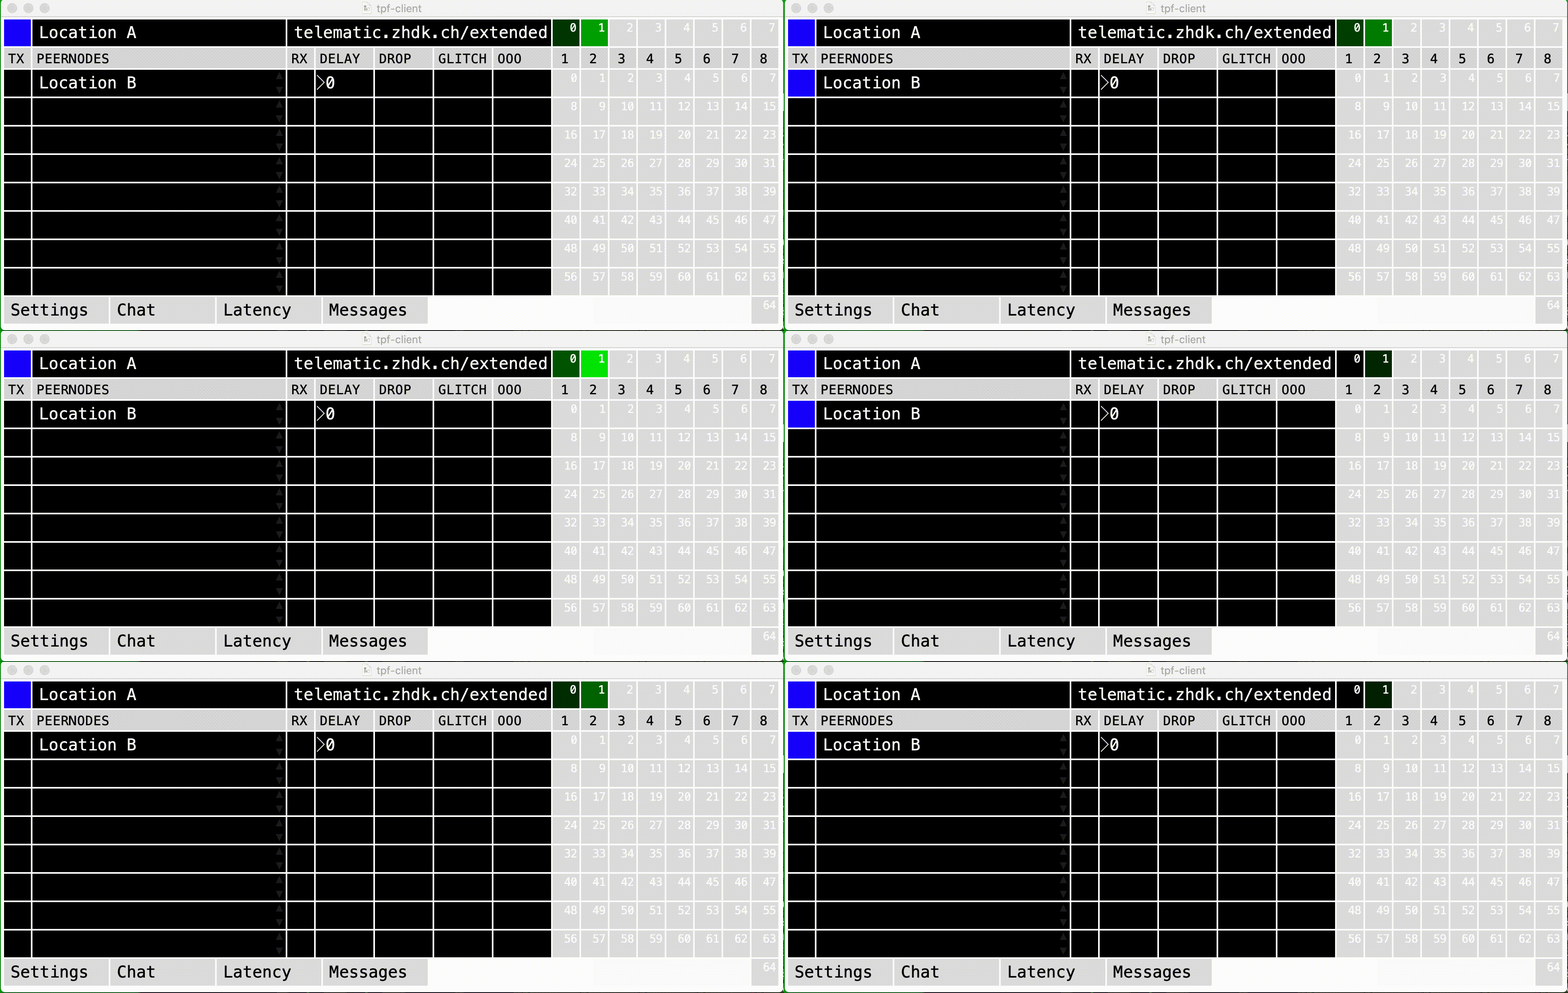
The boxes assigned to the channels flicker in green if audio data is either sent out through them (boxes on the right-hand side of your own location) or are received by them (boxes on the right-hand side of the peer nodes).
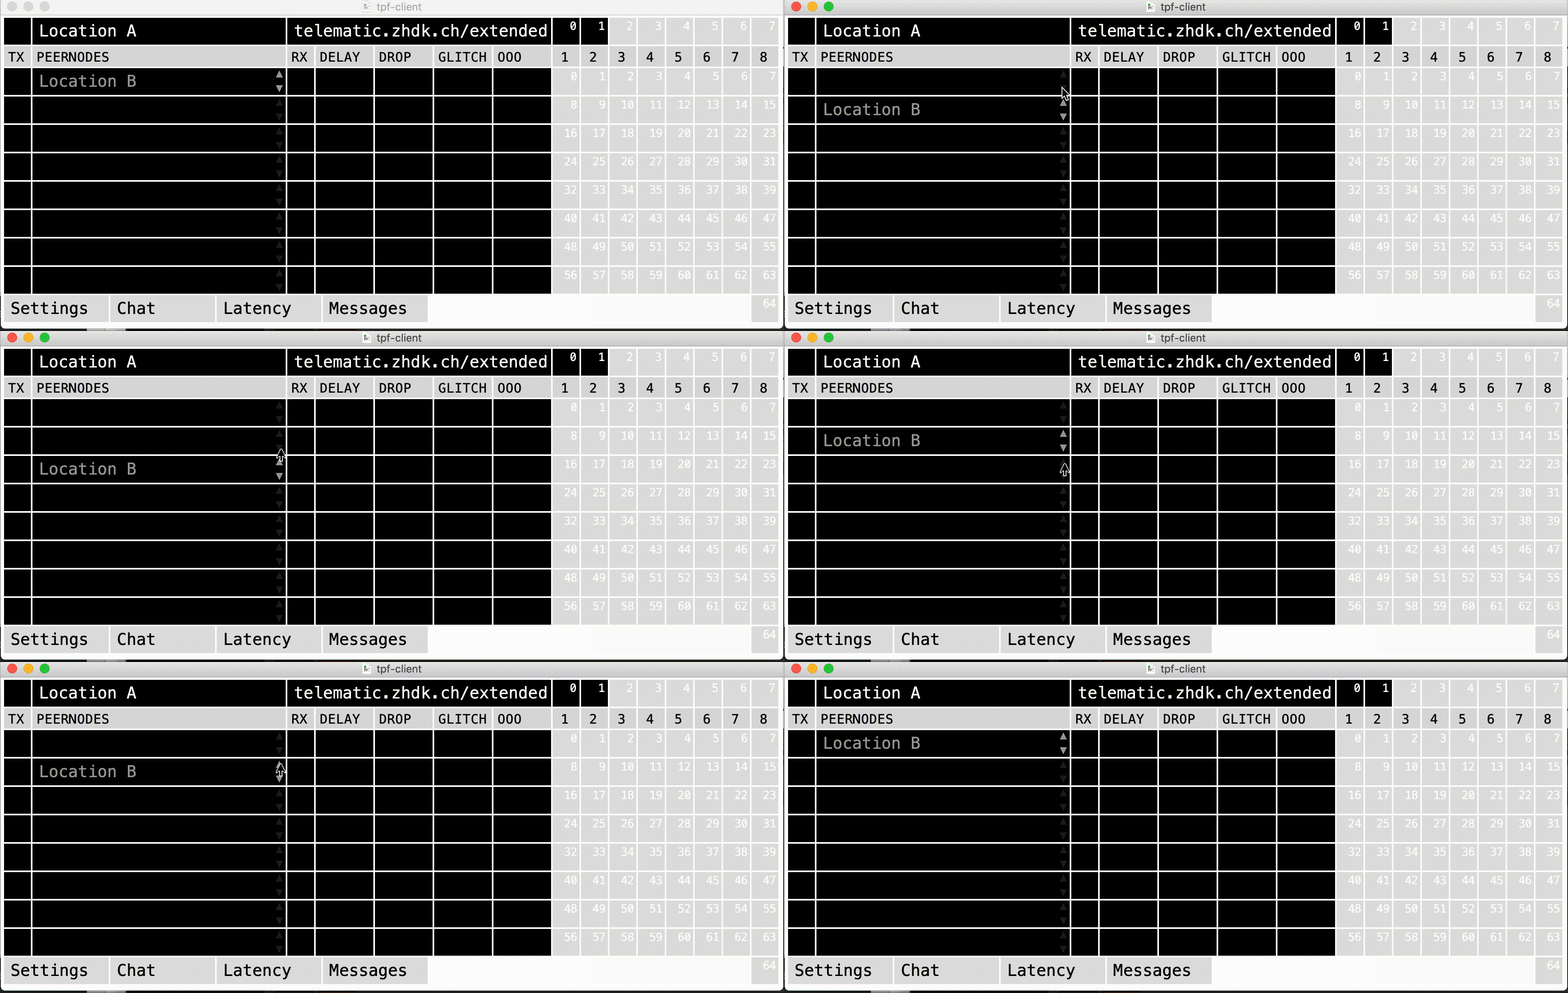
The names of the peer nodes that are online are white. When peers get offline, their names turn grey. You can toggle up or down the sequence of peer names by clicking on the arrows at the right of the peer node name. Please note that peers with a running audio transmission cannot be moved:
You may wish to change the sequence of the peers in order to align the incoming signals with your routing in Ardour. Please note that the channel numbering in Jack (and therefore in the channel connection boxes) starts from 0, whereas the channels in your DAW start from 1.
You can remove a grey peer name by double-clicking on it. Alternatively, you can also empty the peer list by clicking on the reset button in the ‘Setting’ window:
3.4.3. Establish a connection to the other location(s) peer to peer
An alternative to establishing a connection through the proxy server is establishing a peer-to-peer connection, although it is only possible in certain cases. In a peer to peer connection, the audio signal does not run through the central proxy-server. The proxy-server only moderates the establishment of the connection, which then runs directly from one location to the other.
This might be very useful when more than one of the peers is located at a far distance, geographically, from the server, as the latency between those remote peers will be lower.
To establish a peer to peer connection, first click on the double left corner so that the other peer node(s) are visible.
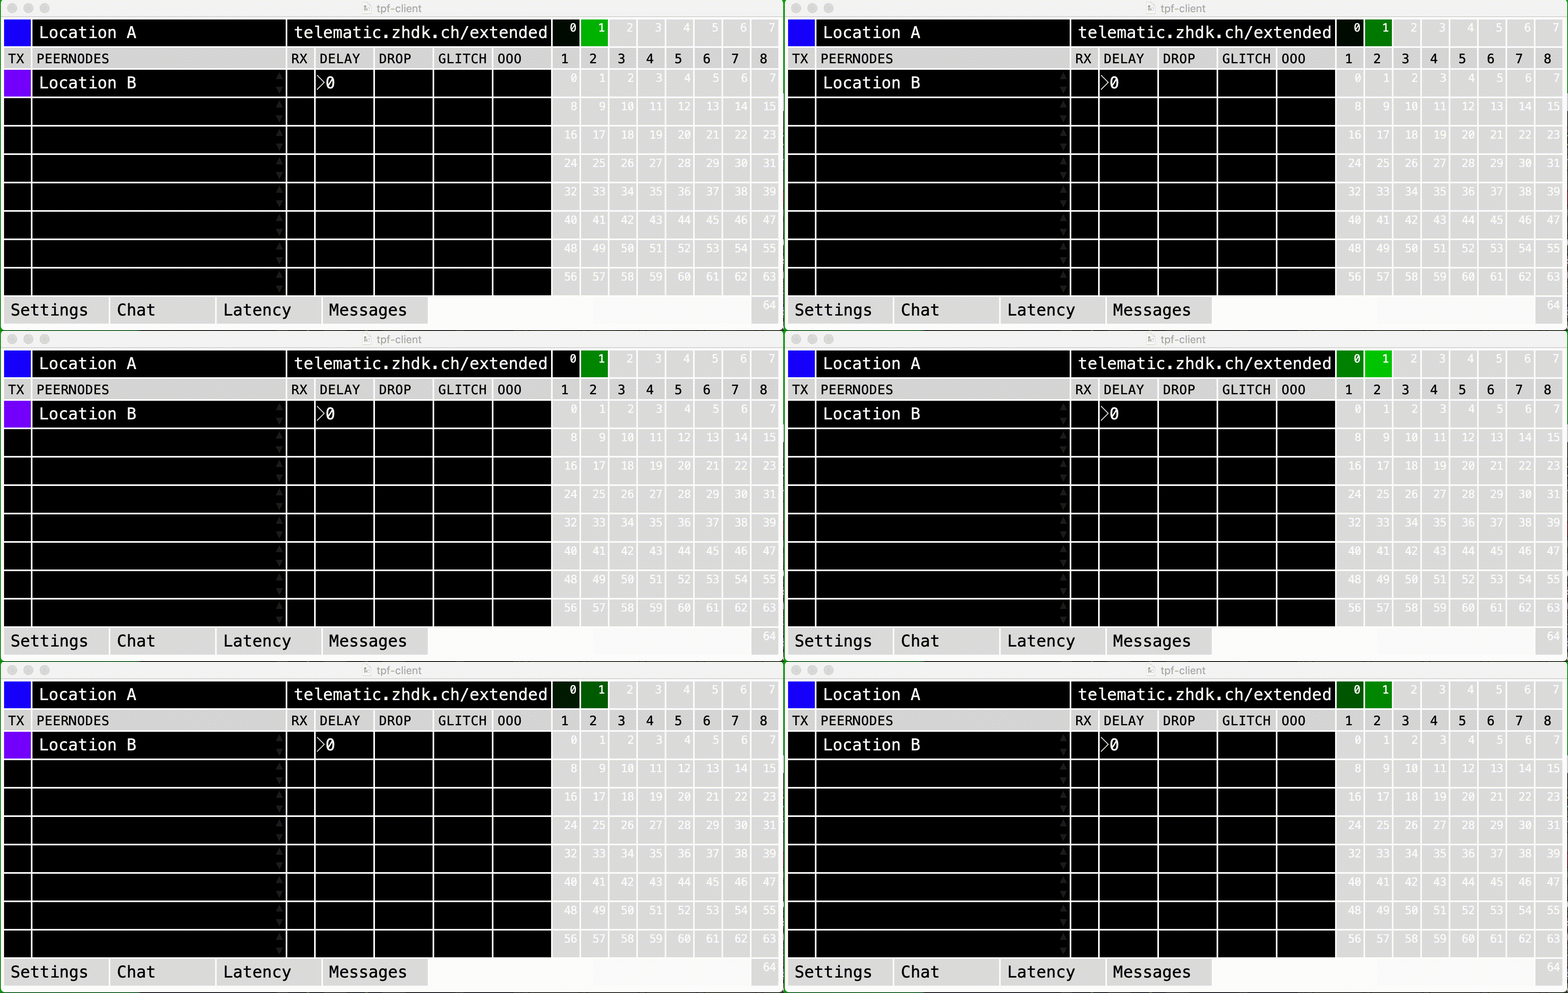
Instead of clicking once on the box beside the peer node/location you choose, double-click it. The box will turn purple and the respective box at the remote location will start to blink green.
As soon as the peer at the remote location clicks on the blinking box, it will turn purple on both sides; a peer-to-peer connection is established.
3.4.4. Closing the connection
By clicking on the blue box left to the peer nodes, the connection to the respective location is closed. By clicking on the upper left box beside your own location, all connections are closed. The respective box(es) at the remote location(s) turn black.
3.4.5. Additional features
The TPF-Client has some additional features that are used to monitor the connection or to extend its functionalities.
Delay: you can add additional latency so that the audio transmission is delayed by the entered amount in milliseconds. It is possible to choose a range from 1 millisecond to 9999 milliseconds (which closely equals ten seconds). This might be useful to align different latencies of different locations, it can also be used for more experimental settings.
During an audio transmission, three types of glitches are counted and displayed in the respective row:
Drop: number of dropped audio packets. Late packets that miss their time frame to be played back are also considered dropped.
Glitch: number of audible audio glitches. Often, many packets are dropped in a row, resulting in one audible glitch. Thus, the number of audible artifacts is always smaller than the number of dropped packets.
Ooo: number of packets received out of order. If an out-of-order packet misses its time frame, it is dropped. Otherwise, it is played back in the correct order.
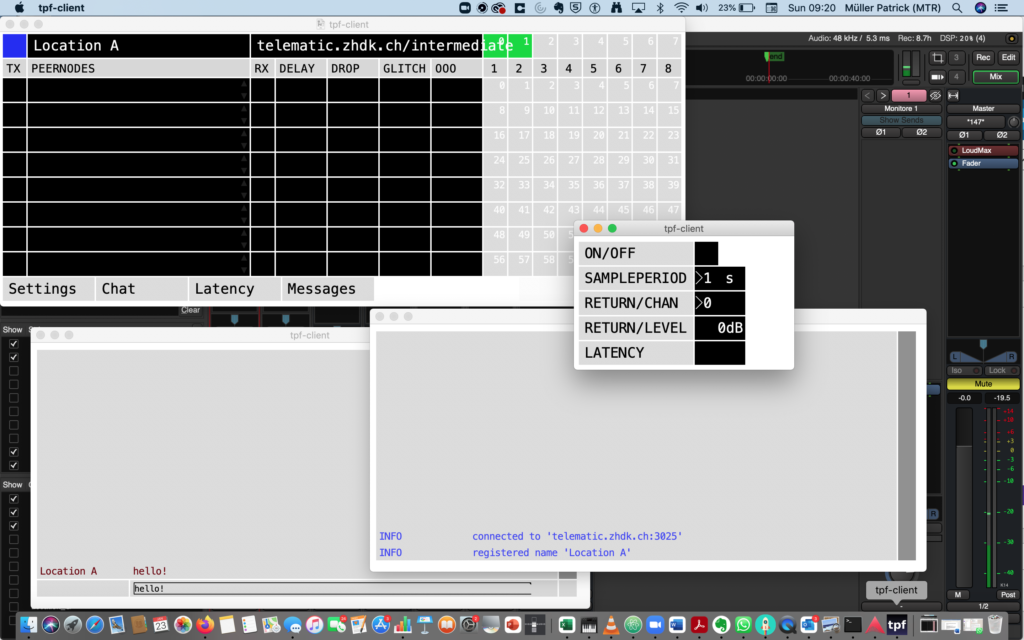
Chat: the built-in chat can be used as a channel of written communication.
Message: where ‘Info’, ‘Warning’, and ‘Error’ messages are displayed.
Latency: the built-in latency measurement tool is used to measure the overall round-trip time of the audio signal. Both endpoints need to configure the audio path accordingly.
When turning the latency measurement on, a sweeping sound is generated and available at output 64. The latency tool assumes that the returning test signal is available in one of the channels received from the peers. RETURN/CHAN selects the channel carrying the returning test signal.
For that the measurement correctly reflects the latency of the real audio signal, it is important that the test signal travels through the same path as the audio signal. Usually, the round trip time (RTT) is crucial, as this value reflects the perceived latency between local and remote musicians. The specific routing of the test signal is dependent on the routing used for the desired signal.
A full routing might look like this: tpf-client:output64 -> [ardour-stage-mixer] -> soundcard -> speaker -> microphone -> soundcard – > (ardour-send-mix) -> tpf-client

